

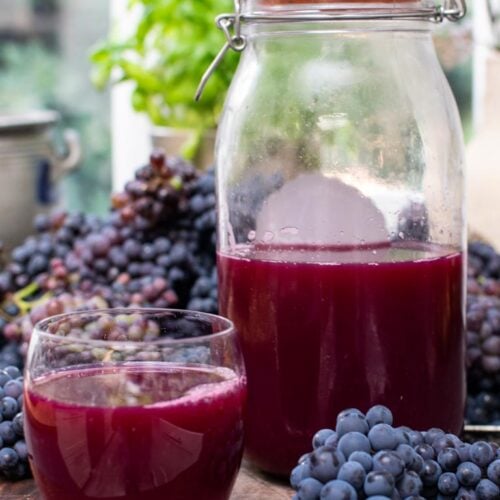
There’s a big difference between the grape juice on the supermarket shelf and the real thing. Shop-bought versions are often made from concentrate, with added sugar and preservatives bulked in. This homemade grape juice is nothing but grapes and water, and tastes amazing.
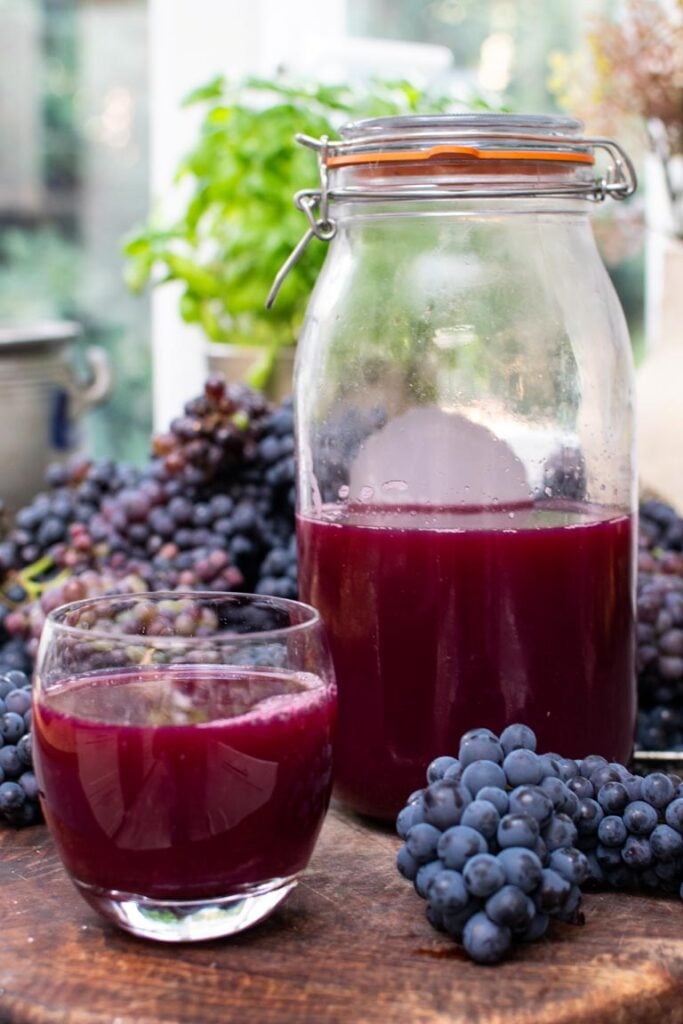
How to Make Grape Juice (Just 2 Ingredients)
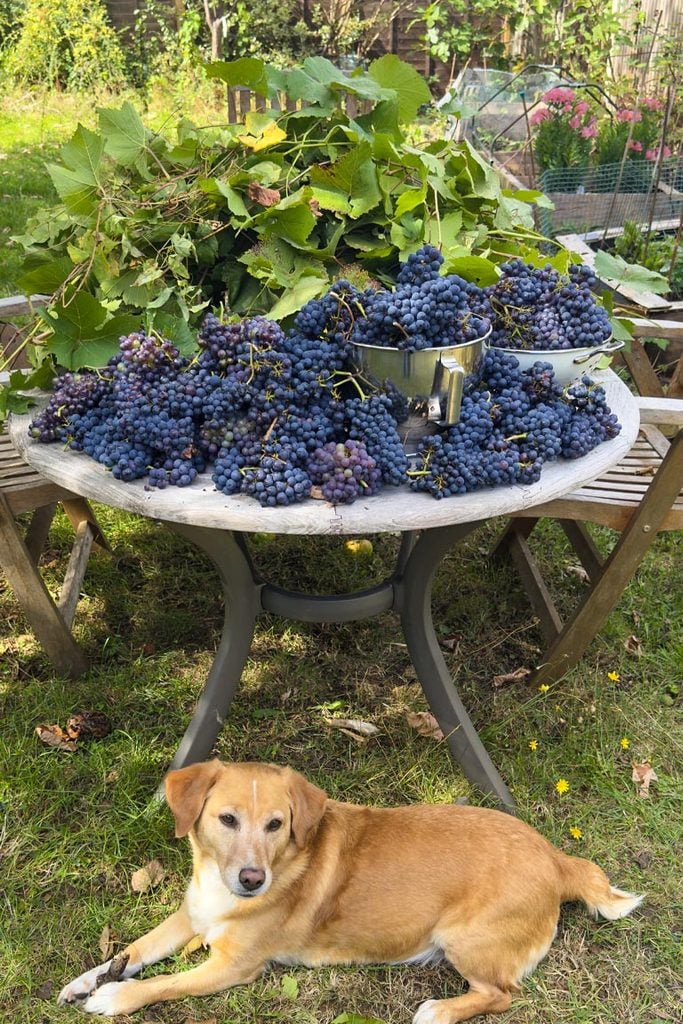
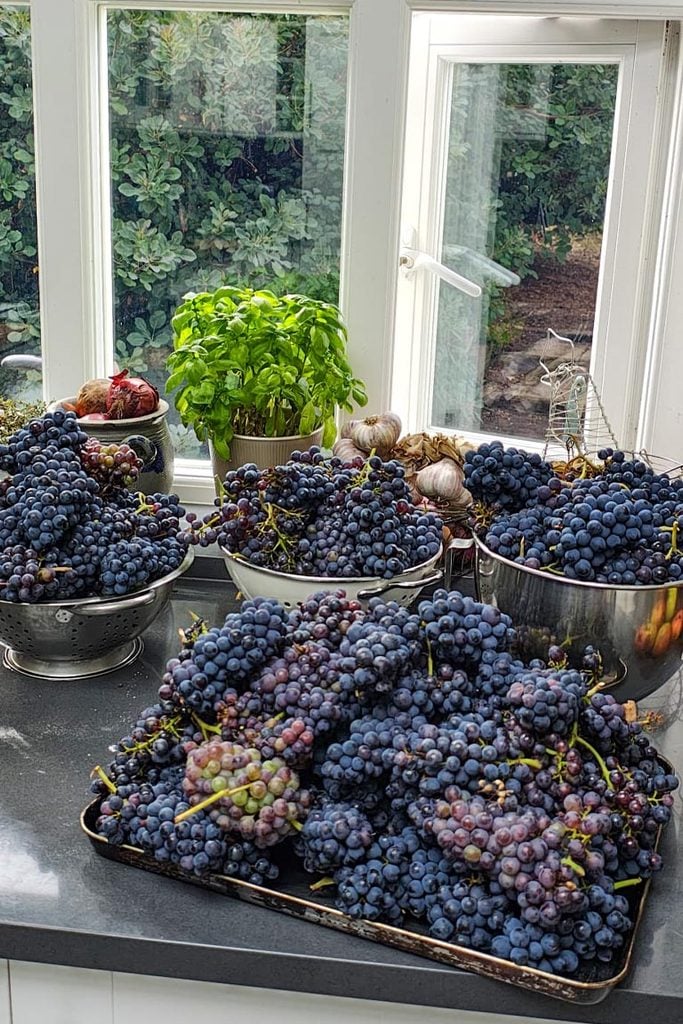
If you’ve made my grape jelly or grape focaccia before, you will know that I’ve got a small vine in the garden that’s is rewarding us with a proper crop each year. This year was a bumper year and grape juice is where most of that harvest ended up. It’s the simplest way to use a glut of grapes, and there’s nothing quite like a glass of the real thing.
There’s a big difference between the grape juice on the supermarket shelf and this. Shop-bought versions are often made from concentrate, with added sugar and preservatives bulked in. This homemade grape juice is nothing but grapes and water, and it tastes amazing.
It’s naturally sweet, completely free from added sugar. Gently boiling the whole grapes releases some of the polyphenols and antioxidants contained in the skins into the juice so it’s good for you too. Best thing is that you don’t need a juicer, just a pan and a bit of patience while it simmers.
Below you’ll find the full method, a couple of alternative extraction methods if you’d rather skip the hob, my tips for the best flavour and clearest juice, and three ways to store it: in the fridge for now, in the freezer for later, or properly canned so it keeps for months.
For more ways to use a grape glut, see the full Autumn Glut Recipes roundup and browse my Grape Recipes for more inspiration.
Why You’ll Love This Recipe
- Just 2 ingredients: grapes and water, nothing else needed
- No added sugar: all the sweetness comes from the fruit
- No juicer required: just a pan, a masher and a sieve
- A brilliant way to use up a glut of grapes from the garden or a bargain punnet from the shop or market.
- Freezer and canning instructions included, so you can make a big batch and keep it
What You Need
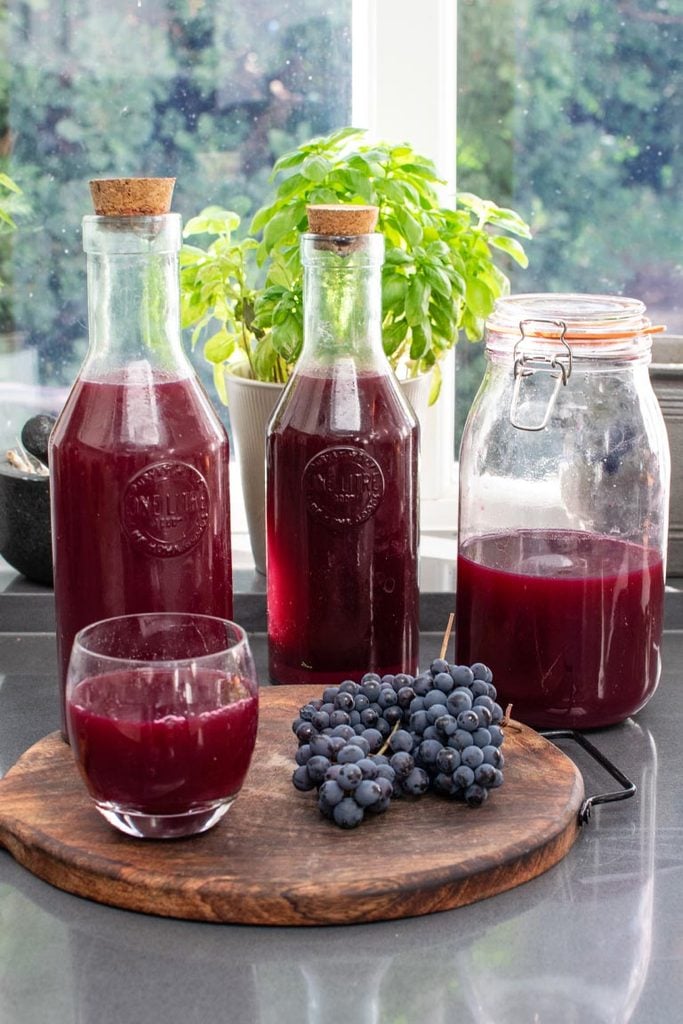
This really is a two-ingredient recipe:
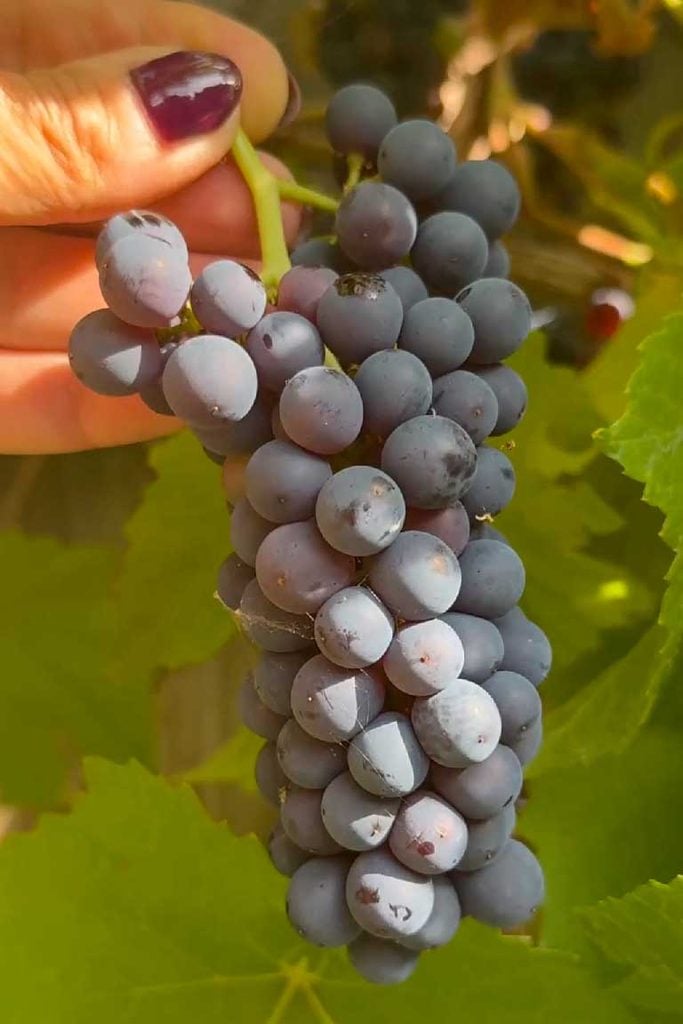
- Grapes: black or dark red grapes give the deepest colour, flavour and the highest antioxidant content, though green grapes work too (see below).
- Water: just enough to dilute to your preferred sweetness.
Equipment: a large saucepan, a potato masher, a fine-mesh sieve or muslin cloth for straining, bottles and/or jars, and a funnel.
Watch How to Make Grape Juice
What Types of Grapes Can You Use
Grapes are relatively easy to grow in the UK and are so rewarding. For juice, you can use green grapes but my favourites are definitely black or red grapes.
There are many varieties to choose from and Victoriana Nursery offers this handy guide to the best UK varieties including Bacchus, Black Hamburgh, Dornfelder.
If you’re not sure what you’ve got, taste one. The sweeter the grape, the better the juice.
Why Choose Black or Dark Grape Juice
Black and dark red grapes aren’t just prettier in a glass. The deep colour comes from anthocyanins, a type of antioxidant concentrated in the skins, which is one of the reasons black grape juice is considered more nutritionally beneficial than juice made from green grapes.
- Rich in antioxidants, including resveratrol and polyphenols, which help protect cells from oxidative stress.
- A good source of vitamin C, supporting normal immune function.
- Contains potassium, which contributes to normal blood pressure and muscle function.
- Naturally hydrating, with no added sugar to offset the benefits.
Green grapes will still make a perfectly good juice, just a little lighter in both colour and antioxidant content.
How to Make Grape Juice: Step-by-Step
Step 1: Prepare The Grapes
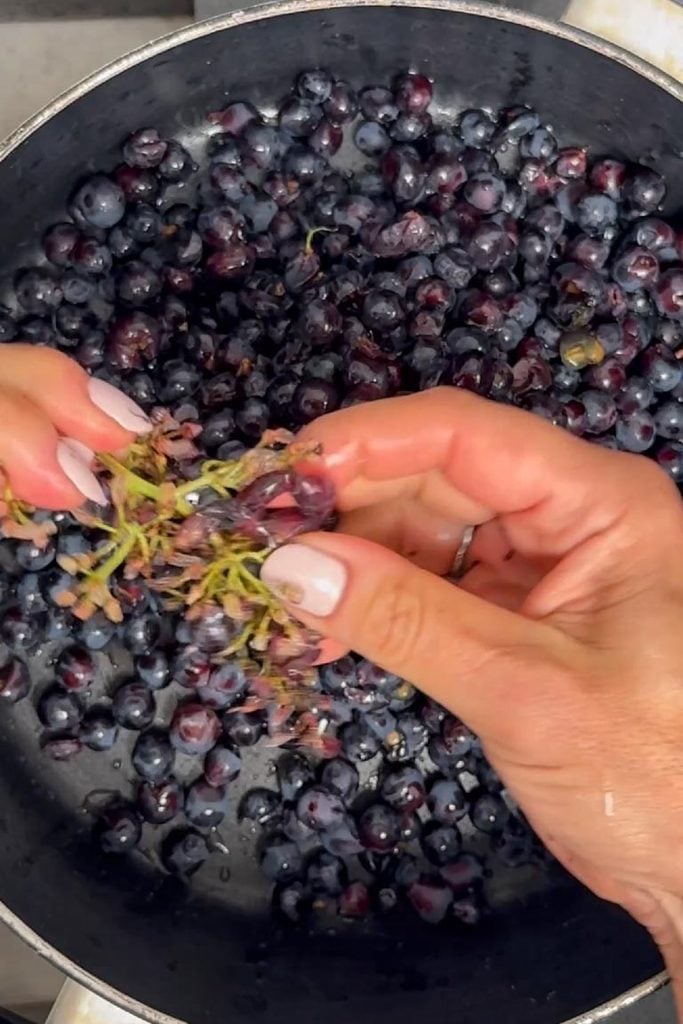
Start by washing the grapes and pulling them off their stems, discarding any that are damaged. Tip the 1kg of grapes into a large saucepan, add 250ml (1 cup) of water – this is optional see recipe note, and crush lightly with a potato masher.
Step 2: Gently Boil The Grapes
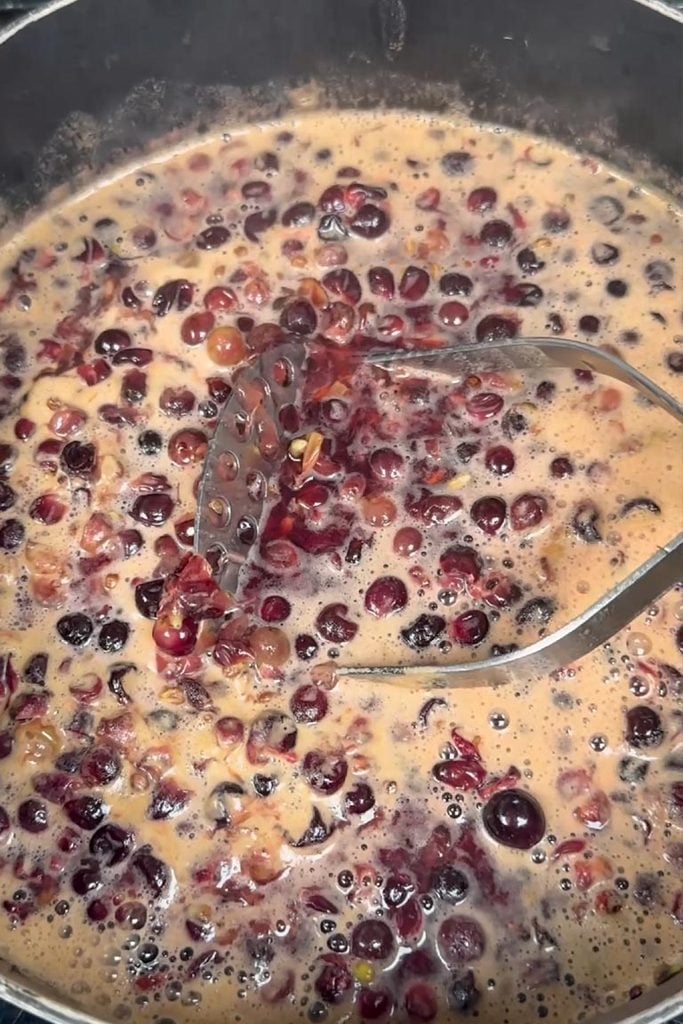
Bring the pan to a gentle simmer and cook for 10–15 minutes, continuing to crush the grapes lightly with the masher as they cook, until the skins have softened and released their juice.
Step 3: Strain The Juice
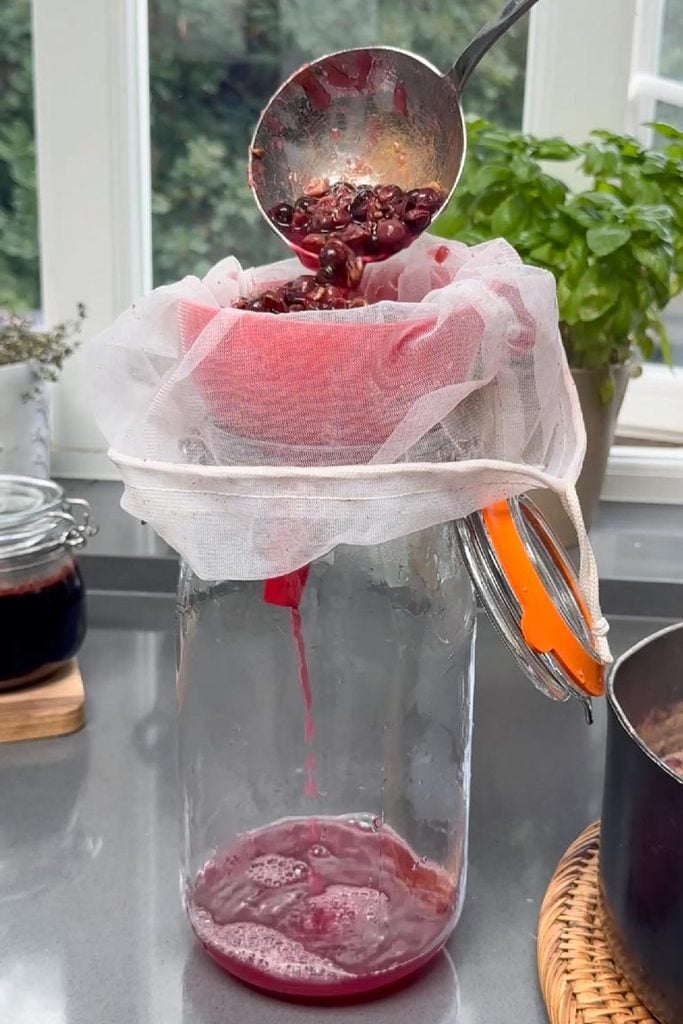
Strain the mixture through a muslin-lined sieve set over a jar or bowl, letting it drip through on its own. A gentle squeeze of the muslin will help draw out a little extra juice, but avoid pressing too hard as this forces fine pulp and sediment through the mesh and can leave the juice cloudy.
Step 3: Strain The Juice
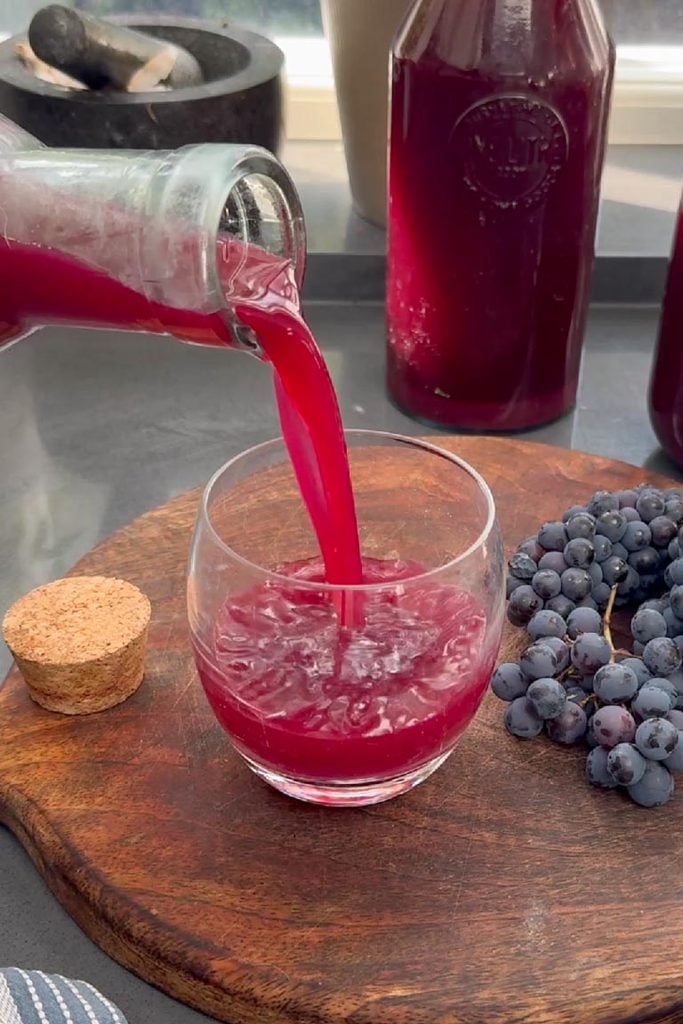
Refrigerate the strained juice for a few hours, or overnight. If it’s still a little cloudy, carefully pour the clear juice into a separate container, leaving any sediment behind in the jar or bottle.
Dilute with a splash more water if you’d like it less sweet, serve, or store as needed.
Other Ways to Extract the Juice
The simmer-and-strain method I use gives a juice with a deep flavour, as the gentle heat helps release colour and pectin from the skins. If you’d rather skip the hob, the two methods work too, but keep in mind that blending or juicing pits will add bitterness to your grape juice, so I prefer to use them for seedless grapes (or grapes that have few pits).
- Blender method: blitz the grapes with a splash of water until smooth, then strain through a muslin-lined sieve as below. Quicker, but the juice will taste a little more raw and “green” than the simmered version.
- Juicer method: if you own a juicer, simply feed washed, destemmed grapes through it. No straining needed, though you’ll lose some of the body and colour that comes from simmering the skins.
- Steam Juicer: if you own a steam juicer, it’s the easiest hands-off option for a large glut. Steam the washed, destemmed grapes over boiling water. As the collected juice is already clear, no straining needed. Just open the tap to draw it off once ready.
Tips for the Best Homemade Grape Juice
- Use ripe, sweet grapes. Since there’s no added sugar, the flavour of the juice depends entirely on the grapes. Taste one before you start.
- Go easy on the water. Start with just a little bit to smash the grapes (I often just don’t add any water at this step as the water residues from washing the grapes is enough). You can always dilute the finished juice, but you can’t concentrate it back up.
- Mix grape varieties. A blend of two or three types of grape can give a more rounded, less one-note flavour than a single variety.
- Don’t waste the pulp. The strained skins and pulp still have plenty of flavour left. Check out these recipe ideas on Pinterest or make sure to compost it.
- Make a concentrate. For a stronger, more versatile juice (handy for cocktails, marinades or topping up with sparkling water), simmer the strained juice for a further 10–15 minutes to reduce it down.
How to Store Grape Juice
In the Fridge
Homemade grape juice will keep in an airtight bottle or jar in the fridge for 4–5 days, since it has no preservatives. Give it a shake before serving, as some natural settling is normal.
In the Freezer
Grape juice freezes very well. Pour into freezer-safe containers or bottles, leaving a little headspace for expansion, and freeze for up to 6 months. An ice-cube tray is handy too. Frozen grape juice cubes are brilliant for chilling a glass of juice or a smoothie without watering it down.
Canning Grape Juice
If you’d like to preserve a large batch so it’s shelf-stable at room temperature, canning is the way to go. For safety, always follow a tested method rather than an informal one, the USDA’s National Center for Home Food Preservation has a verified boiling-water-canner process for grape juice, including processing times by jar size and altitude.
Ways to Use Your Grape Juice
- Drink it simply chilled, over ice, or topped up with sparkling water
- Freeze into ice lollies for a naturally sweet treat
- Freeze into ice cubes
- Add a splash to smoothies in place of plain water or milk
FAQs
No. This method uses just a pan, a masher and a sieve. It produces a clear, concentrated juice without bitterness, since you’re gently simmering rather than spinning the fruit and crushing the pits.
Yes. With no added sugar and the skins included during simmering, it retains natural antioxidants and vitamin C.
Yes, though the juice will be lighter in colour, milder in flavour and slightly lower in antioxidants than a version made with black or dark red grapes.
This is completely normal. It’s fine sediment from the grape skins and pulp. Refrigerating the juice for a few hours before pouring off the clear liquid on top will give you a brighter result.
Up to 4–5 days in the fridge, around 6 months in the freezer, or up to a year unopened if properly canned using a tested method.
Yes. See “Other Ways to Extract the Juice” above. A blender or juicer is quicker, though simmering the grapes first gives a fuller flavour and deeper colour. But I would not recommend blending or juicing if your grapes have a lot of pits as they add bitterness to the juice when crushed.
Don’t throw it away, it still has plenty of flavour. Check out the recipe ideaas above or add it to the compost
I hope you enjoy this homemade grape juice recipe as much as I do. If you do make it, don’t forget to tag me on Instagram!
Homemade Grape Juice
Equipment
Disclaimer: the equipment list above includes affiliate links to products I use and like.
Watch How To Make This Recipe
Ingredients
- 1 kg grapes (see note)
- water
Instructions
- Wash the grapes and remove them from their stems, discarding any damaged fruits.1 kg grapes
- Place the grapes in a large saucepan, add 250ml (1 cup of water) and crush lightly with a potato masher.
- Bring to a gentle simmer and cook for 10–15 minutes. Carry on crushing the grapes lightly with a potato masher, until the skins are soft and the juice has released.
- Strain through a muslin-lined sieve set over a jar or bowl, letting it drip through. Gently squeeze the muslin to gather some extra juice (pressing too hard will force some of the fine pulp and sediment through the mesh, making the juice cloudy).
- Refrigerate for a few hours or overnight.
- If your juice is cloudy, carefully pour off the clear juice in a different container, leaving sediment in the jar or bottle.
- Dilute with some water if needed, to get your desired sweetness.water
- Chill, serve or store as needed.
Notes
- The quantities is for guidance only. Just use whatever amount of grapes you have and dilute the juice with water once it is made to get your desired sweetness.
- Step 2: go easy on the water. Start with just a little bit to smash the grapes (I often just don’t add any water at this step as the water residues from washing the grapes is enough). You can always dilute the finished juice, but you can’t concentrate it back up.
Nutritional Information
Find this recipe online:
https://theflexitarian.co.uk/recipe-items/homemade-grape-juice/
I cannot wait to see your posts!
Other Things You Might Like



Leave a Reply