

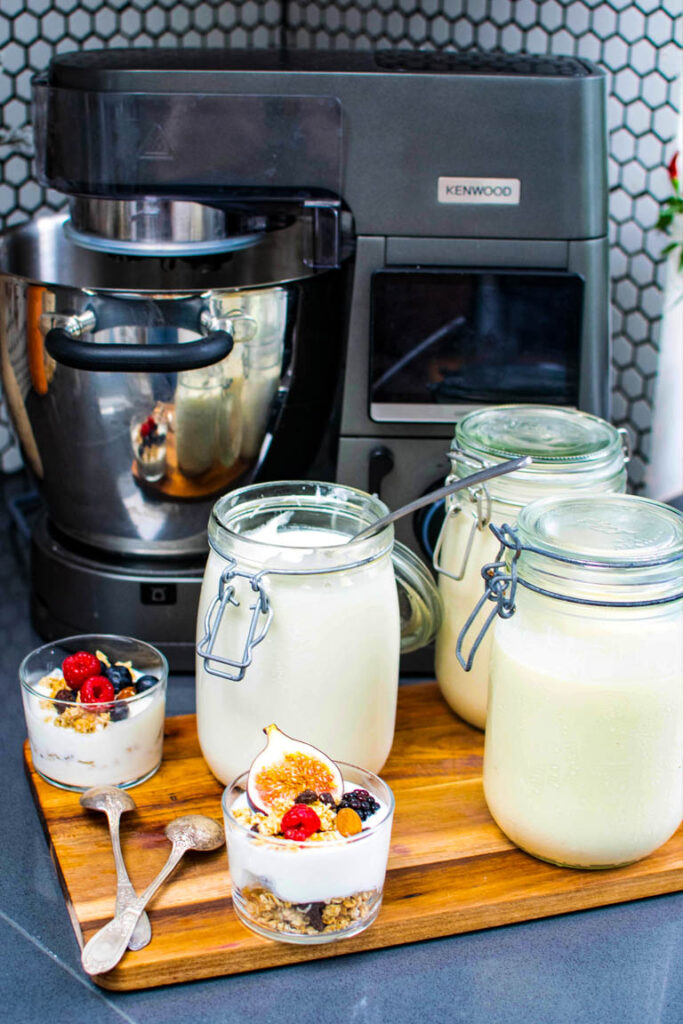
One of the things I stop buying, since I have my Kenwood Cooking Chef XL is yoghurt.
There’s something deeply satisfying about making your own homemade yoghurt, no yoghurt maker or slow cooker needed, just my Kenwood Cooking Chef XL (or a pan), a digital thermometer and a bit of patience while your oven light does the hard work overnight.
Once you’ve tried it, it’s hard to go back to the shop-bought tubs. It’s noticeably creamier, you control exactly what goes into it, and if you’re trying to cut down on food and packaging waste, reusing the same glass jar for every batch is such a win too.
This method makes a wonderfully thick, probiotic-rich yoghurt you can flavour however you like: keep it plain, stir through vanilla and a touch of sugar, or make it entirely dairy-free. I use my Kenwood Cooking Chef XL to heat and cool the milk completely hands-free, though a pan works just as well if you don’t have one. Once it’s ready, spoon it over your favourite granola, or strain it a little longer to make thick, spoonable labneh.
Why You’ll Love This Recipe
- No yoghurt maker needed – just a pan or your stand mixer, and your oven light for gentle incubation.
- Thick and creamy every time – a spoonful of milk powder (or a quick strain) gives you exactly the consistency you want.
- Completely customisable – make it plain, vanilla, or entirely dairy-free.
- Budget-friendly and low-waste – a batch works out far cheaper than shop-bought pots, and you can reuse the same jar again and again.
- Hands-free with the Kenwood Cooking Chef XL – it heats, stirs and helps cool the milk automatically (a full pan method is included too).
- Doubles as labneh – strain it a little longer for a thick, spreadable dip.
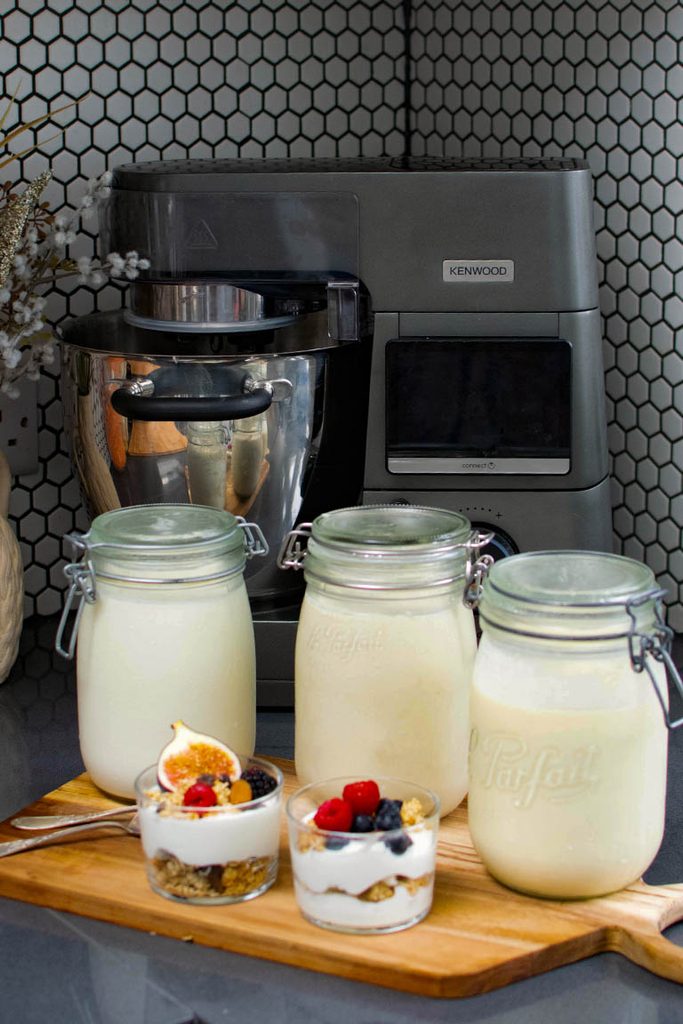
Why Use My Kenwood Cooking Chef XL
I make this recipe in my Kenwood Cooking Chef XL because it takes all the guesswork and the standing-over-a-pan, out of the process. The integrated induction plate heats the milk slowly and evenly just under boiling temperature, and the machine stirs it automatically at regular intervals, so there’s no risk of it catching or scorching on the base. The stirring function also helps speed up the cooling stage, so the milk gets down to incubation temperature faster than it would just sitting on the side.
It’s completely hands-free: set it going and get on with something else while it heats and cools the milk for you. If you’d like to try the Kenwood Cooking Chef XL for yourself, read my full Kenwood Cooking Chef XL review and buyer’s guide here, where you’ll also find a special offer to get 3 attachments for FREE and 20% OFF on any additional attachments using my code THEFLEXITARIAN on Kenwood website.
💸 EXCLUSIVE OFFER
Get 3 attachments for FREE and 20% OFF on any additional attachments
using my code THEFLEXITARIAN on Kenwood website.
– TO REDEEM, SIMPLY –
1) Add the Cooking Chef XL to your cart
2) Go to cart
3) Insert coupon “THEFLEXITARIAN”
4) You will see the message “you got 3 free attachments”
5) Click the message and choose your attachments
The Kenwood Cooking Chef XL also earns its keep well beyond this recipe. I use mine for cakes and bread doughs, to knead and prove flatbread, and the induction bowl is brilliant for gently heating or frying, so it’s a machine that more than pays for itself in a busy kitchen.
No Kenwood? No problem – the full pan method is included below, so you can make this with equipment you’ve already got.
Ingredient Notes
- Milk: whole milk gives the creamiest, thickest homemade yoghurt, and both pasteurised and UHT milk work well. For a dairy-free version, unsweetened soya milk is the most reliable for a good set, while oat, almond and coconut milk also work but tend to set a little softer, so don’t skip the milk powder.
- Milk powder: my trick for consistent results. A few spoonfuls add extra milk solids, which thicken the yoghurt and give it a creamier texture without any straining. Use regular milk powder, or a dairy-free one if you’re using plant milk. If you’d rather leave it out, you can strain the finished yoghurt instead (see below).
- Yoghurt starter: a sachet of yoghurt starter culture is the easiest way to get a reliable set, and dairy-free versions are available for plant milks. Once you’ve made a batch, you can also use 3 Tbsp of it to start the next one, although sachets tend to give the most consistent results. Different starters contain different strains of live bacteria, so it’s worth checking the label if you want a specific probiotic profile (see note below).
- Vanilla extract: for the vanilla yoghurt, choose pure vanilla extract rather than essence for a more natural flavour.
- Sugar: just regular granulated sugar works well and dissolves easily into the warm milk, no need for caster. You can swap it for maple syrup if you prefer, or leave it out and sweeten each bowl at serving time.
- Digital thermometer: the one piece of special equipment I’d recommend. Temperature is everything in yoghurt making: too hot and it will kill the live cultures, too cool and they won’t get to work.
- Jar: use a clean glass jar with a tight-fitting lid, washed well in hot soapy water and rinsed, so no unwanted bacteria compete with your starter.
- Muslin cloth (optional): for straining the yoghurt if you like it extra thick, or to make labneh.
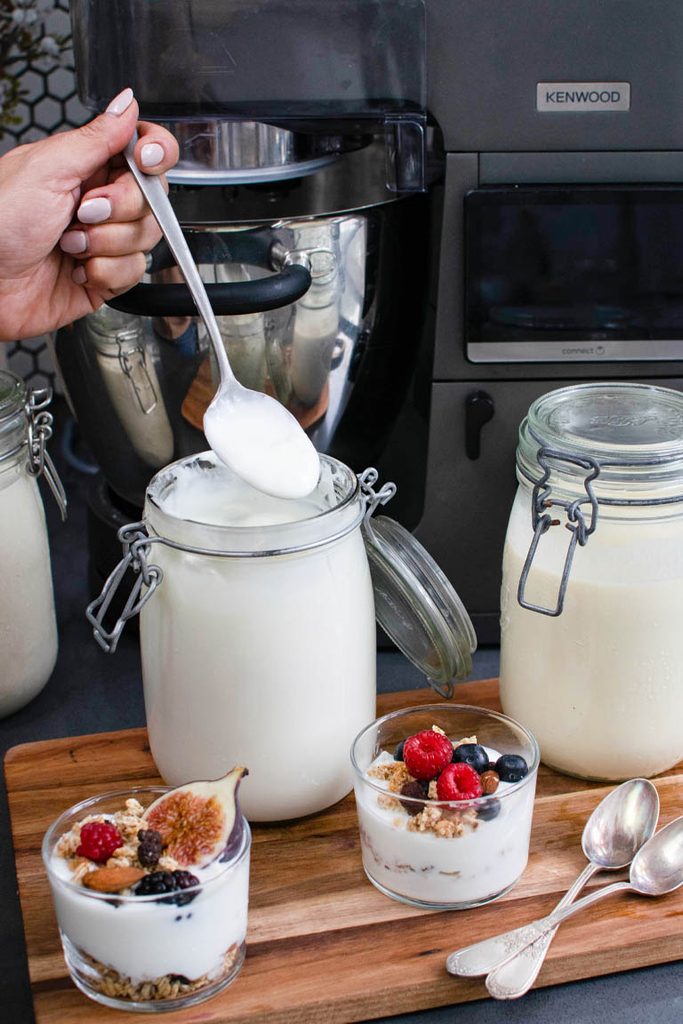
A Note on Yoghurt Starters and Probiotics
Not all yoghurt starters are the same. A classic, traditional starter typically contains just two strains, Lactobacillus bulgaricus and Streptococcus thermophilus, the two bacteria responsible for turning milk into yoghurt in the first place. Many shop-bought “probiotic” starters add extra strains on top of these, such as Lactobacillus acidophilus, Bifidobacterium or Lactobacillus casei, which are associated with additional gut health benefits.
This means the starter you choose can affect both the flavour (multi-strain starters are often milder and less tangy) and the probiotic profile of your finished yoghurt. If gut health is your main reason for making yoghurt at home, look for a starter that lists its specific bacterial strains on the packet rather than just “yoghurt culture”, and choose one with several strains for the broadest range of live cultures. Whichever you choose, keep in mind that continually reculturing from a previous batch (see Make-Ahead Instructions) will keep passing on the same strains, while starting fresh from a sachet each time lets you vary or refresh the profile.
Shop This Recipe
A few of my favourite products for making homemade yoghurt, including dairy-free options for both the milk powder and the starter culture:
- Kenwood Cooking Chef XL: using my code THEFLEXITARIAN on Kenwood website.
- Dairy milk powder: like Milfresh
- Dairy-free milk powder: I like Overherd
- Yoghurt starter culture: I like Yogourmet
- Dairy-free yoghurt starter culture: I like Cultures for Health
- Digital thermometer: like this one
- Glass jars: like these ones
- Muslin cloths: like these ones
Disclaimer: the product list above includes affiliate links to products I use and like. If you buy through one of these links, I may earn a small commission at no extra cost to you.
How to Make Homemade Yoghurt
Making homemade yoghurt (or homemade yogurt, if you’re stateside) is really just a matter of controlling temperature. You heat the milk, let it cool to just the right warmth, stir in the starter and then keep it gently warm while the good bacteria do their work. The ideal incubation temperature is 40–45°C (104–113°F), and I get there with nothing more than my oven light. No yoghurt maker or slow cooker needed.
You can make it in a pan, but I use my Kenwood Cooking Chef XL for a completely hands-free process, so I’ve given you both methods below.
Step 1: Heat the milk
In the Kenwood Cooking Chef XL: Pour the milk into the bowl, add the milk powder (if using) and fit the creaming beater. Set the temperature to 90°C, the time to 15 minutes and the stirring function to “Stir every 30 seconds”, then fit the splashguard. The integrated induction plate heats the milk slowly and gently while the beater stirs at regular intervals, so nothing catches on the bottom and you can get on with something else. Heating the milk like this changes its proteins, which is what gives you a thicker, creamier yoghurt.
In a pan: Pour the milk into a heavy-based saucepan and whisk in the milk powder (if using) until dissolved. Warm it over a medium-low heat, stirring often so it doesn’t catch on the base, until it reaches 85–90°C. Don’t let the milk boil. Hold it there for about 10 minutes, stirring now and then, then take the pan off the heat.
Step 2: Cool the milk
In the Kenwood: Once the 15 minutes are up, remove the splashguard. Set the stirring function to “Stir every 30 seconds”, and let the milk cool down to 40–45°C (104–113°F), which takes about 20 minutes. The stirring helps the milk cool faster and more evenly. Start checking the temperature with a digital thermometer after 15 minutes.
In a pan: Stand the pan in a sink or large bowl of cold water and stir the milk regularly to help it cool down evenly. Check with your digital thermometer every few minutes until it reads 40–45°C (104–113°F). This usually takes 20 to 30 minutes.
Don’t rush this bit. If the milk is still too hot when you add the starter, it will kill the live cultures and your yoghurt won’t set.
Step 3: Add the yoghurt starter
Once the milk has reached the right temperature, scoop a small amount into a cup or small bowl and stir in the yoghurt starter until it has completely dissolved. Pour it back into the rest of the milk. If you’re making vanilla yoghurt, whisk in the vanilla extract and sugar at this point too. Mix gently for a minute or so (on a low speed in the Kenwood, or with a whisk in the pan) until everything is evenly combined.
Step 4: Prepare the oven
While the starter is mixing in, get your oven ready. Preheat it to its lowest setting (around 100°C / 210°F) for just 2 minutes and switch the oven light on. Then switch the oven heat off, but leave the light on. The residual warmth plus the heat from the bulb make a wonderfully gentle, steady incubator.
Step 5: Incubate the yoghurt
Transfer the milk mixture to a clean glass jar and close the lid. Wrap the jar in a tea towel to keep it cosy, then place it in the oven right next to the light. Close the oven door and leave the yoghurt to incubate for 10 to 12 hours (overnight works perfectly). Try not to open the oven or move the jar, as this lets the heat escape and can disturb the set. The longer you leave it, the thicker and tangier your yoghurt will be.
Step 6: Chill and serve
Once the incubation time is up, transfer the jar to the fridge and refrigerate for at least 4 hours. The yoghurt will firm up further as it chills. For an extra-thick, Greek-style yoghurt, spoon it into a muslin-lined sieve over a bowl and let it strain in the fridge until it’s as thick as you like. Leave it a little longer and you’ll have creamy, spreadable labneh.
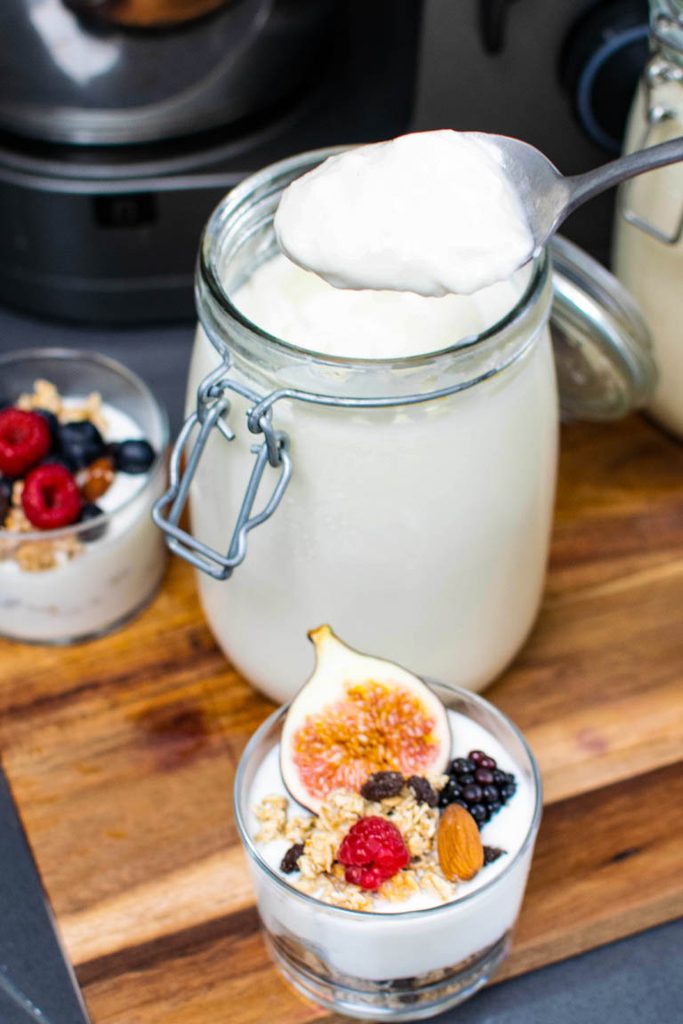
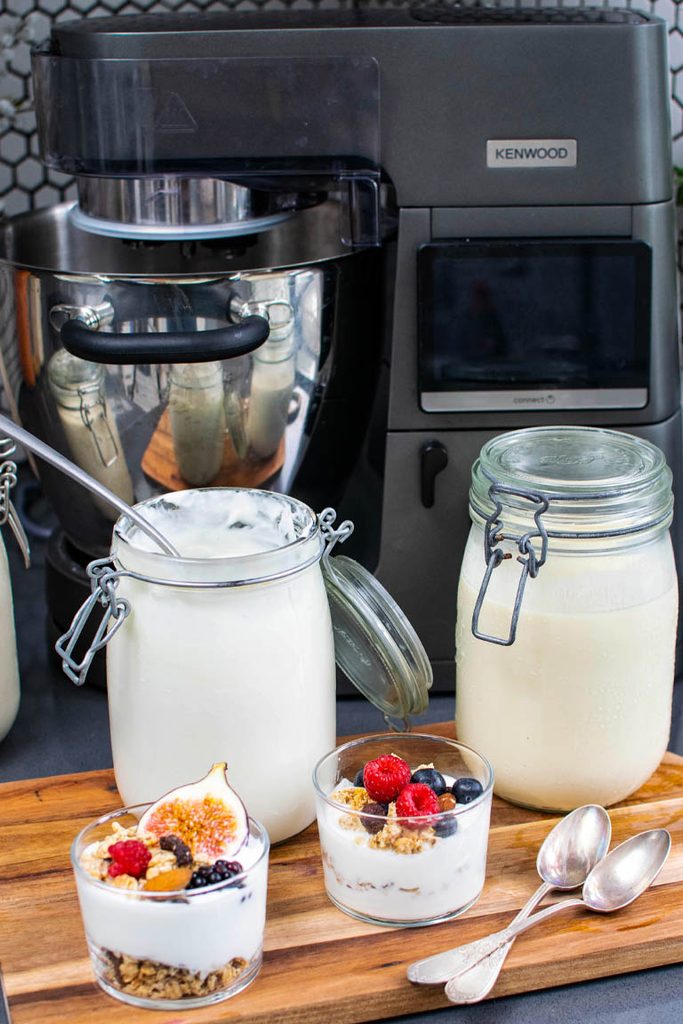
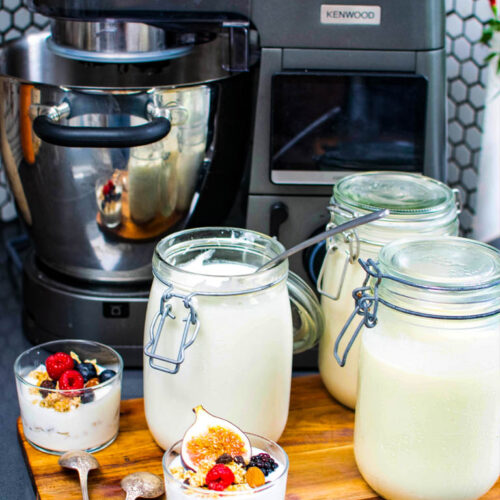
Serve your homemade yoghurt plain or topped with fresh fruit and granola for breakfast or a snack.
Troubleshooting: Common Yoghurt Problems
Homemade yoghurt is forgiving once you’ve got the hang of it, but here’s how to fix the most common hiccups:
- My yoghurt is runny: this is usually down to incubation, either the temperature was a touch too low, or it didn’t incubate for long enough. Leave it for the full 10 to 12 hours next time, and double-check your oven light is generating enough gentle warmth. Adding milk powder at the beginning, or straining the finished yoghurt through muslin, will also thicken a batch that’s come out thinner than you’d like.
- My yoghurt is grainy: this usually means the milk was heated too quickly or to too high a temperature. Stick to 85–90°C and bring it up gradually rather than blasting the heat, and make sure it’s fully dissolved if you’re using milk powder.
- My yoghurt didn’t set at all: the most likely culprit is temperature at the starter stage: if the milk was hotter than 45°C when you added the starter, it will have killed the live cultures. It’s also worth checking your starter hasn’t gone past its use-by date, as an inactive starter won’t ferment the milk however long you leave it.
- My yoghurt is too sour or tangy: this simply means it incubated for a little too long. Try reducing the incubation time by an hour or two next time, tasting as you go once you’re familiar with your set-up.
- There’s a layer of liquid on top: that’s whey, and it’s completely normal and safe to eat. Stir it back in for a looser, more traditional yoghurt, or pour it off (or use it to strain into labneh) if you prefer a thicker result.
Serving Suggestions
Homemade yoghurt is brilliant simply spooned into a bowl with fresh fruit, honey and a scattering of Almond & Vanilla Spelt Granola or Apricot & Almond Granola for breakfast.
Blend a spoonful into your High Protein Fruit Smoothie for extra creaminess, or strain it into labneh and serve as a dip with warm flatbread and olive oil. It also makes a great base for a quick tzatziki-style dip alongside grilled or roasted vegetables.
Make-Ahead Instructions
Homemade yoghurt is a brilliant make-ahead staple. I’d recommend making a full batch (or even doubling it) at the start of the week so you’ve got a ready supply for breakfasts and snacks.
Once you’ve made your first batch, you can use 3 Tbsp of it as the starter for your next one instead of buying a fresh sachet. Do bear in mind the culture can weaken after a few generations, so it’s worth using a fresh starter sachet every 4 to 5 batches for the most reliable results.
Storage Instructions
Store your homemade yoghurt in an airtight container or jar in the fridge for up to 1 to 2 weeks. It will continue to thicken slightly as it chills, and a little liquid (whey) may separate on top, simply stir it back in before serving.
Homemade yoghurt isn’t suitable for freezing, as the texture becomes grainy and watery once thawed.
Frequently Asked Questions
This is almost always down to temperature. If the milk was too hot when you added the starter, it will have killed the live cultures; if it was too cool, or the incubation spot wasn’t warm enough, the bacteria won’t have been active enough to thicken the milk. Double-check your digital thermometer readings and make sure your oven light is generating enough gentle warmth.
Yes, 3 Tbsp of your own homemade yoghurt can be used to start the next batch. For the most consistent results, though, I’d recommend using a fresh sachet every few batches.
Yes. Live yoghurt cultures are a source of probiotics that support gut health, and yoghurt is also a useful source of protein and calcium, as part of a varied, balanced diet.
Yes, simply swap the milk for an unsweetened plant milk (soya works best for a good set) and use a dairy-free milk powder and yoghurt starter.
You can, but the whole point of this method is that you don’t need one. The oven-light method works just as well and means one less appliance to find room for.
I hope you enjoy this homemade yoghurt recipe as much as we do. If you do make this recipe, don’t forget to tag me on Instagram!
Homemade Yoghurt
Equipment
Disclaimer: the equipment list above includes affiliate links to products I use and like.
Watch How To Make This Recipe
Ingredients
- 1 l milk whole or dairy-free
- 3 Tbsp milk powder (optional – see note) regular or dairy-free
- 1 sachet yoghurt starter regular or dairy-free
FOR THE VANILLA YOGHURT:
- 2 Tbsp vanilla extract
- 3 Tbsp sugar
Instructions
KENWOOD COOKING CHEF XL METHOD:
- Place the milk and milk powder (if using) in the bowl of the Kenwood Cooking Chef XL. Fit the creaming beater.1 l milk, 3 Tbsp milk powder (optional – see note)
- Set the temperature to 90°C, the time to 15 minutes and the stirring function to “Stir every 30 seconds”. Fit the splashguard.
- Once the milk has heated for 15 minutes, remove the splashguard. Set the stirring function to "Stir every 30 seconds" and let the milk cool to 40–45°C / 104–113°F, about 20 minutes. Start checking the temperature with a digital thermometer after 15 minutes.
- Dissolve the yoghurt starter in a small amount of the cooled milk.1 sachet yoghurt starter
- Pour the starter back into the bowl. For vanilla yoghurt, also whisk in the vanilla extract and sugar. Mix gently for a minute or so.2 Tbsp vanilla extract, 3 Tbsp sugar
- Meanwhile, preheat the oven to its lowest setting for 2 minutes and switch the oven light on. Switch off the oven heat but leave the light on.
- Transfer the milk mixture to a clean, airtight glass jar. Close the jar, wrap it in a tea towel and place it in the oven right next to the oven light.
- Close the oven and leave the yoghurt to incubate for 10 to 12 hours. The longer you leave it, the thicker it will be.
- Transfer the jar to the fridge and refrigerate for at least 4 hours before serving.
PAN & STOVE METHOD:
- Pour the milk into a heavy-based saucepan and whisk in the milk powder (if using).
- Heat over a medium-low heat, stirring often, until the milk reaches 85–90°C. Do not let it boil. Hold for about 5 minutes, then remove from the heat.
- Stand the pan in a sink or bowl of cold water and stir regularly until the milk cools to 40–45°C / 104–113°F, about 20 to 30 minutes. Check with a digital thermometer.
- Dissolve the yoghurt starter in a small amount of the cooled milk.
- Pour the starter back into the pan. For vanilla yoghurt, also whisk in the vanilla extract and sugar. Whisk gently for a minute or so.
- Meanwhile, preheat the oven to its lowest setting for 2 minutes and switch the oven light on. Switch off the oven heat but leave the light on.
- Transfer the milk mixture to a clean, airtight glass jar. Close the jar, wrap it in a tea towel and place it in the oven right next to the oven light.
- Close the oven and leave the yoghurt to incubate for 10 to 12 hours. The longer you leave it, the thicker it will be.
- Transfer the jar to the fridge and refrigerate for at least 4 hours before serving.
Notes
Nutritional Information
Find this recipe online:
https://theflexitarian.co.uk/recipe-items/homemade-yoghurt/
I cannot wait to see your posts!
Other Things You Might Like



Leave a Reply