

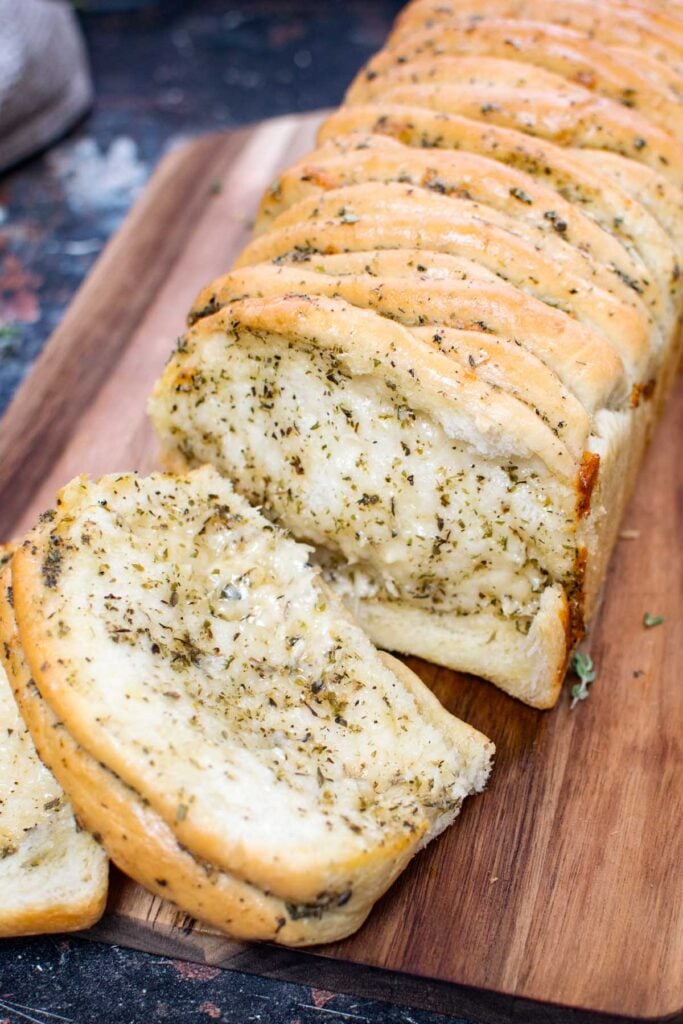
This cheesy garlic pull apart bread is a soft, homemade loaf layered with garlic herb butter and cheese, then baked in a loaf tin until golden. Made for tearing and sharing, it is the kind of bake that disappears from the table in minutes.
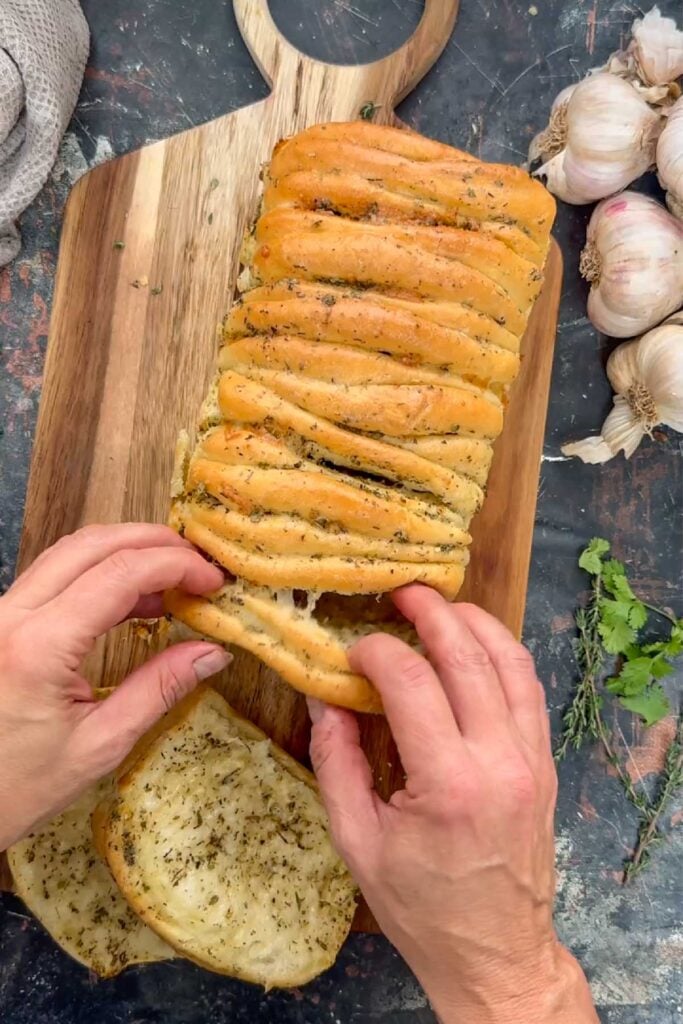
Cheesy garlic pull apart bread: A homemade tear and share loaf
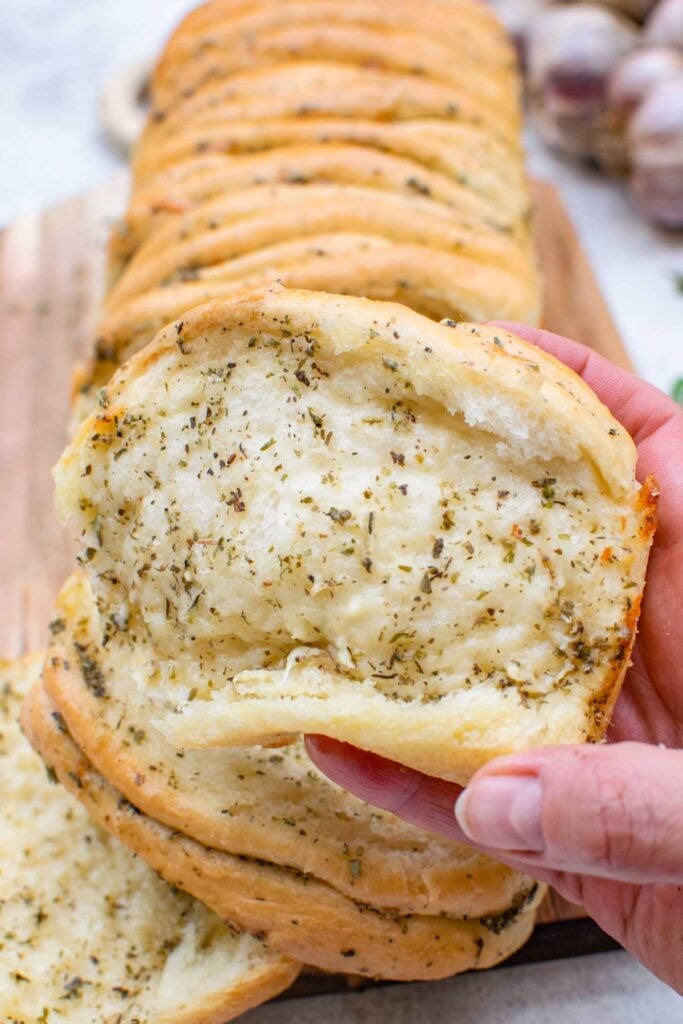
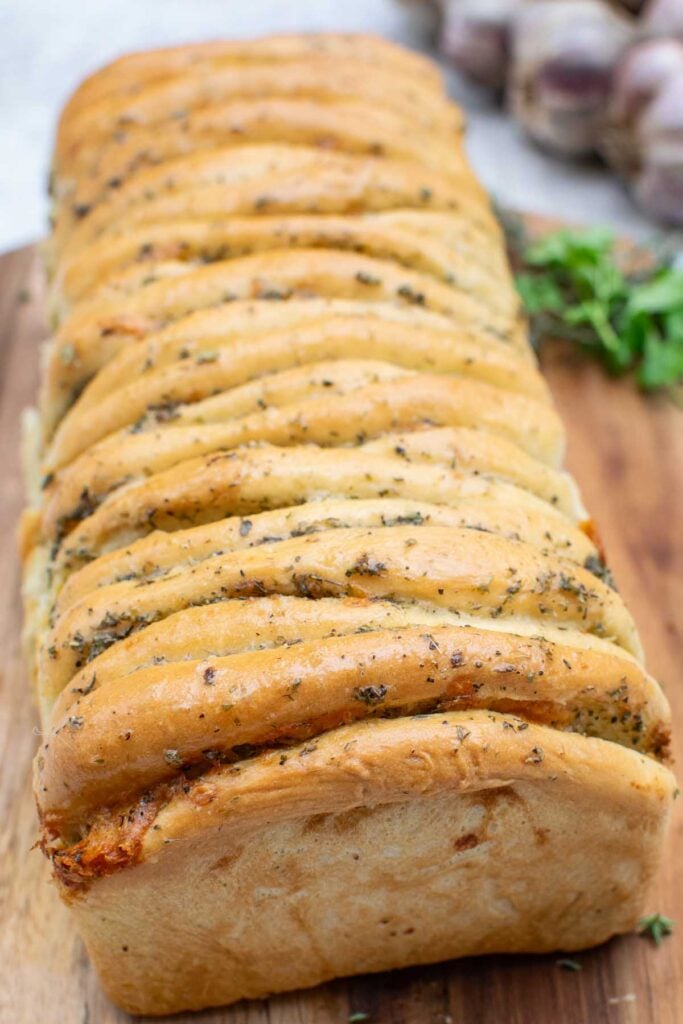
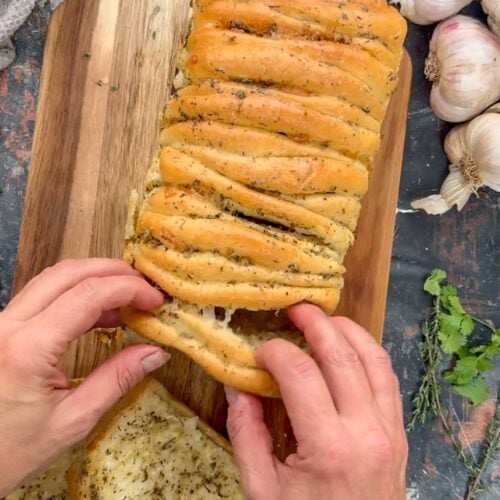
This cheesy garlic pull apart bread is everything you want from garlic bread, only softer, fluffier and much more fun to eat. Homemade dough is spread with garlic and herb butter, scattered with grated cheese (either Cheddar, a vegetarian parmesan-style cheese or dairy-free cheese), then folded and stacked in a loaf tin so it bakes into golden layers you can tear off one by one. Think of it as a tear and share loaf: perfect in the middle of the table with a bowl of soup, a big salad or a festive spread.
It looks impressive, but it is easier than it seems. The dough is a simple enriched white bread, and the folding takes about ten minutes once you get the hang of it. New to bread making? This beginner’s guide to making bread is a good place to start.
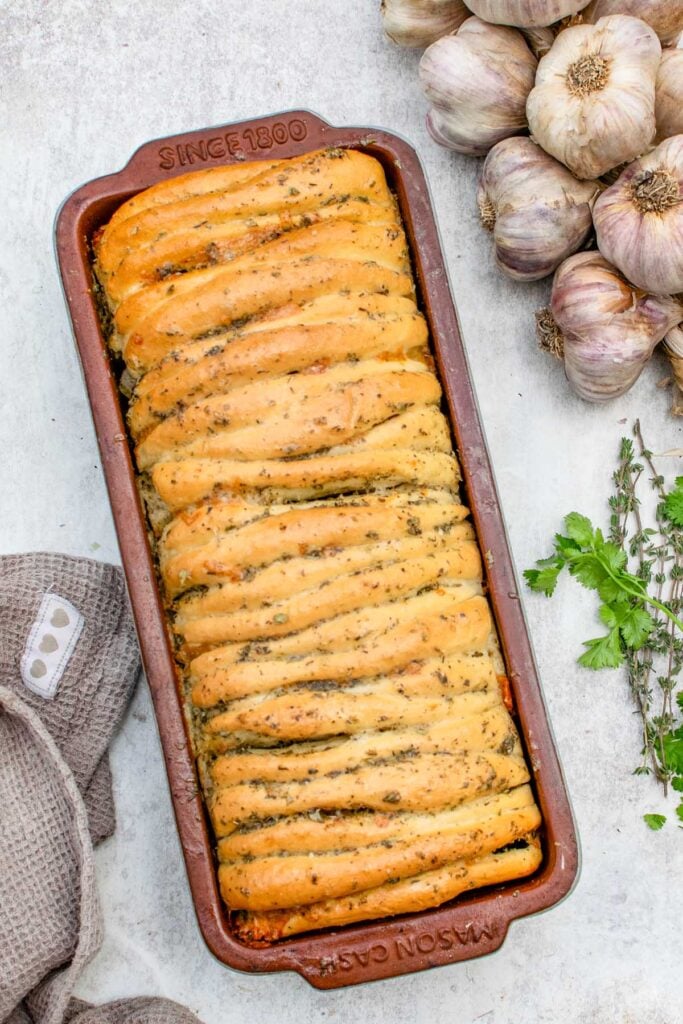
Why you’ll love this cheesy garlic pull apart bread
- Made from scratch: no shop-bought loaf, just a soft homemade dough with a lovely pillowy crumb.
- Garlic and herbs in every layer: each fold gets its own spread of garlic herb butter and Cheddar, so every piece is full of flavour.
- Baked in a loaf tin: no special equipment, and the tin keeps the layers neat and upright.
- Vegetarian and easy to make vegan: see the swaps below.
- Made for sharing: pull it apart at the table for Christmas parties, meat-free Bonfire Night gatherings or a cosy soup supper.
How I use my Kenwood Cooking Chef XL for this recipe
I make this cheesy garlic pull apart bread in my Kenwood Cooking Chef XL, letting the dough hook do all the kneading and then proving the dough right there in the mixing bowl.
For the first prove, I cover the bowl with the splashguard and set the induction plate to warm the bowl to 30°C, so the dough doubles in size reliably whatever the temperature in my kitchen. The induction plate provides precise temperature control from 20°C to 200°C (68°F to 392°F) as well as rapid heating, so it is just as suited to gentle tasks like proving dough as it is to high-heat cooking.
If you are thinking about getting one, check out my special reader offer here.

A note on my bread tin
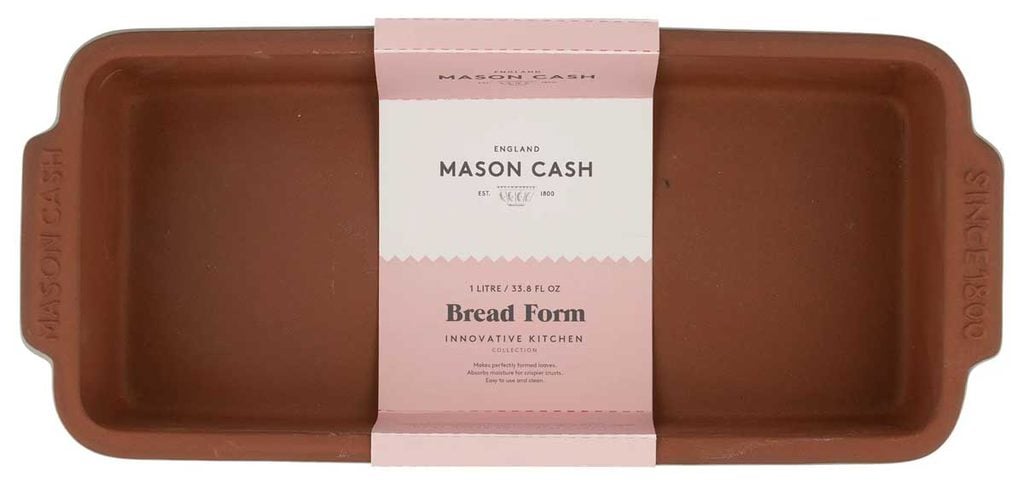
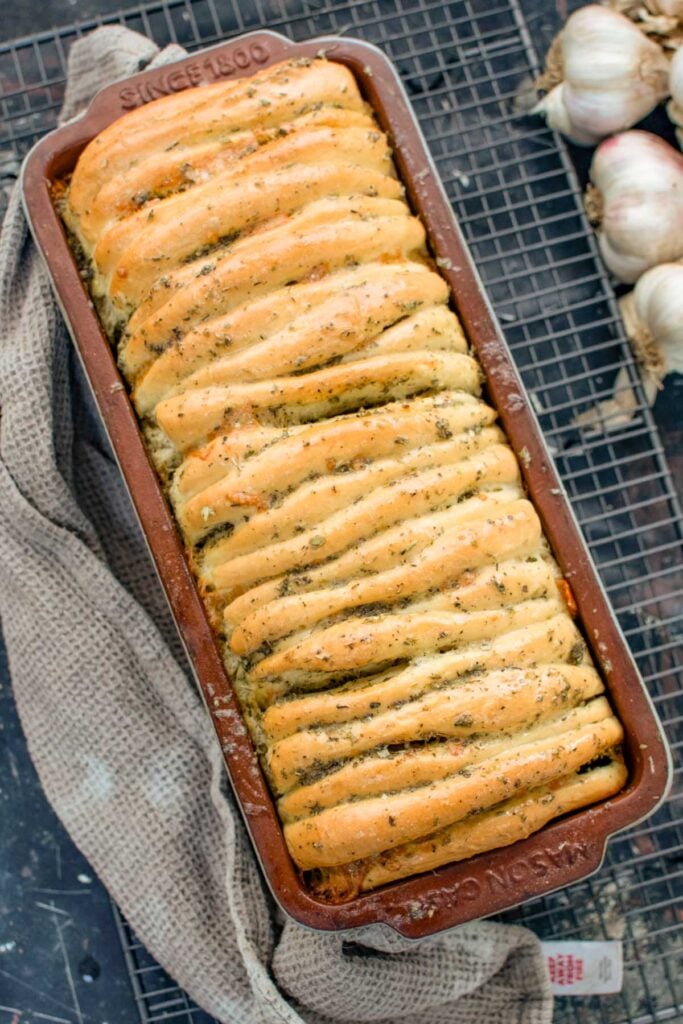
The recipe is written for a standard 900g (2lb) metal loaf tin, but I actually bake this loaf in a Mason Cash Innovative Kitchen 2lb Terracotta Bread Form. It measures about 24 × 15 × 8cm, so it holds the same amount of dough as a 2lb metal tin but is slightly wider, which gives the 12 folded pieces a little more room to rise. The unglazed terracotta inside draws moisture from the dough, which gives a lovely crisp, golden crust, and there’s no need to line it. Just grease it well. Terracotta takes a little longer to heat up than metal, so check the loaf at 45 minutes and give it a few minutes more if needed.
More bread recipes
If you love baking bread, try my:
- Pumpkin Shaped Bread
- Grape Focaccia with Rosemary (Schiacciata con l’Uva)
- Pull Apart Bread Roll Wreath
- Focaccia Bread with Rosemary
- Slow Cooker Bread
Watch how to make cheesy garlic pull apart bread
Ingredients for cheesy garlic pull apart bread
You only need a handful of everyday ingredients. Full quantities are in the recipe card below.
For the dough
- Strong white bread flour: its higher protein gives the soft, stretchy crumb that peels apart in layers.
- Fast-action yeast: a standard 7g sachet. No need to activate it first.
- Milk and water: a mix of the two makes the bread soft without being heavy. Use your milk of choice, dairy-free or not.
- Dairy-free spread or butter: a little fat keeps the crumb tender.
- Sugar and salt: the sugar feeds the yeast and helps the crust brown.
For the garlic herb butter
- Unsalted butter, extra soft: it must be spreadable but not melted (see tips).
- Fresh garlic: three cloves, finely grated or crushed.
- Dried Italian herbs: a mix of oregano, basil, thyme and parsley gives that classic garlic bread flavour.
The best cheese
I use an extra-mature Cheddar for its bold flavour and good melt. You need only about 10–12g per layer, so a strong cheese goes further. Red Leicester, Gruyère-style or a vegetarian Italian parmesan-style cheese work well too.
Not all cheese is vegetarian, as some is made with animal rennet. Most supermarket Cheddar uses vegetarian rennet, so check the label. Traditional Parmigiano Reggiano is never vegetarian. The Vegetarian Society guide to vegetarian cheese explains what to look for.
To make this recipe vegan, swap the cheese, milk and spread to plant-based alternatives.
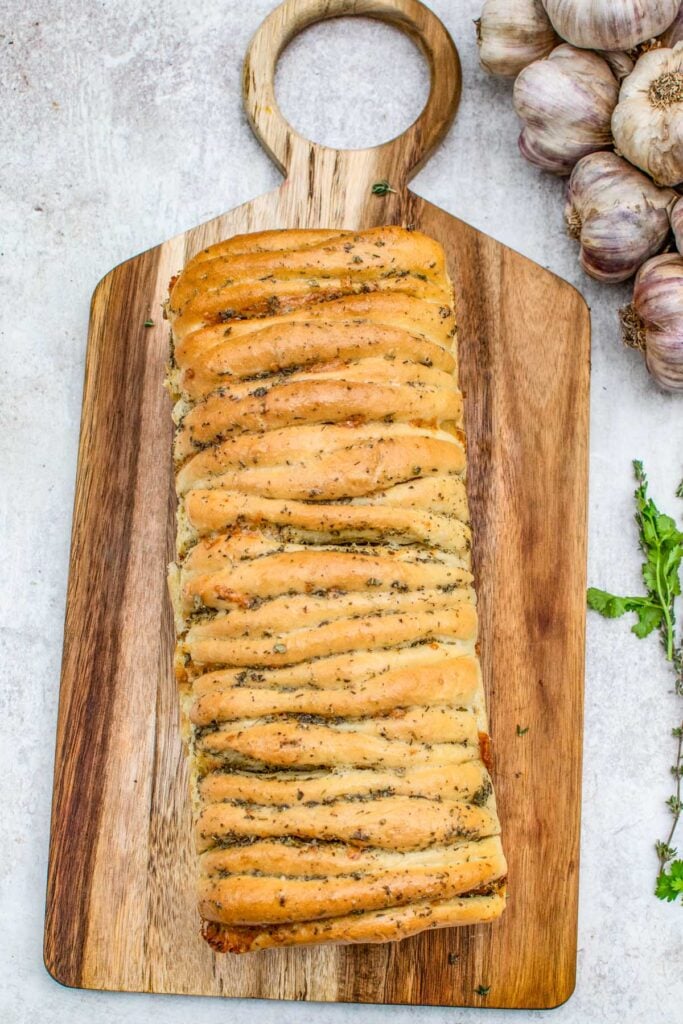
How to make pull apart bread in a loaf tin
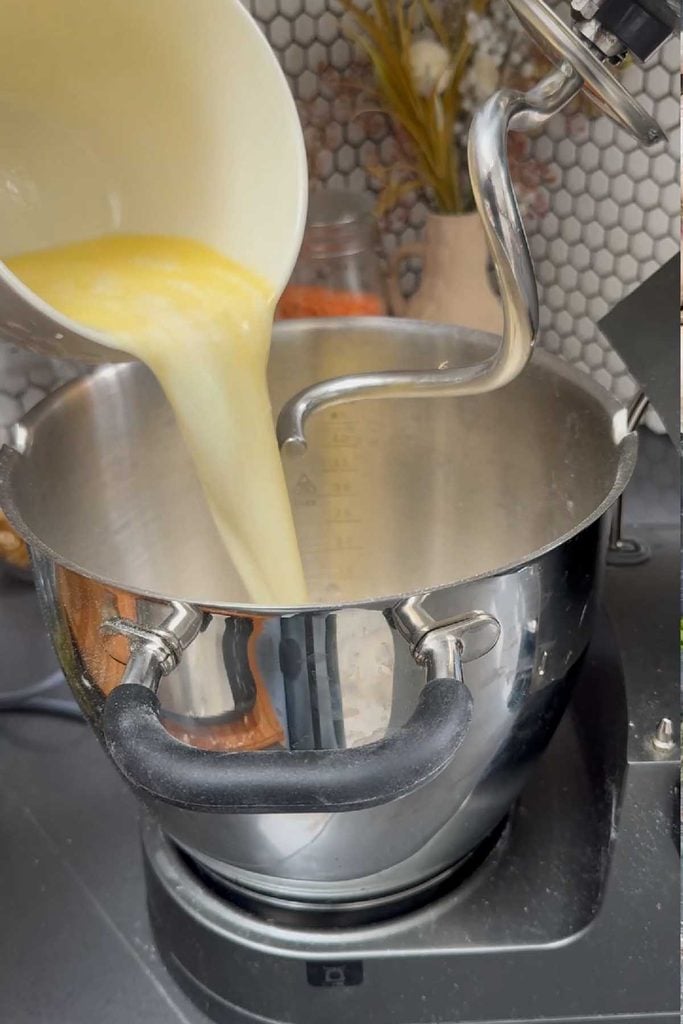
- Make the dough. Mix the flour, yeast, sugar and salt in a large bowl. Warm the milk, water and spread together until the spread melts and the liquid feels just warm. Pour it in and bring everything together, then knead until smooth and springy: 8–10 minutes in a stand mixer or about 12 minutes by hand. This guide to how to knead bread dough is very helpful.
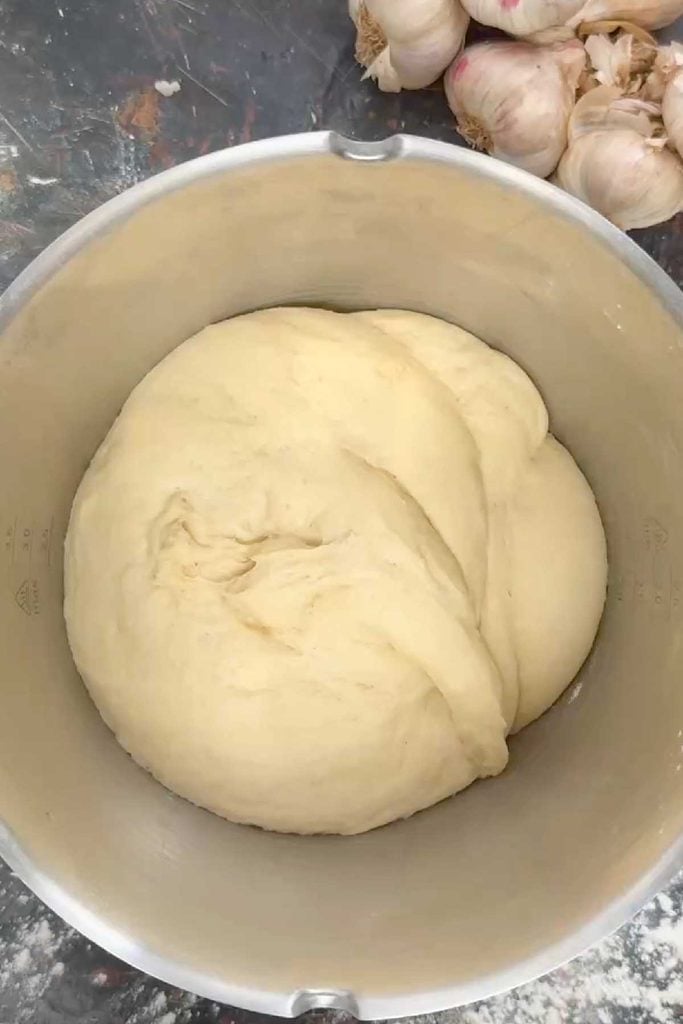
- First prove. Cover the bowl and leave the dough somewhere warm for 1 to 1½ hours, until doubled in size.
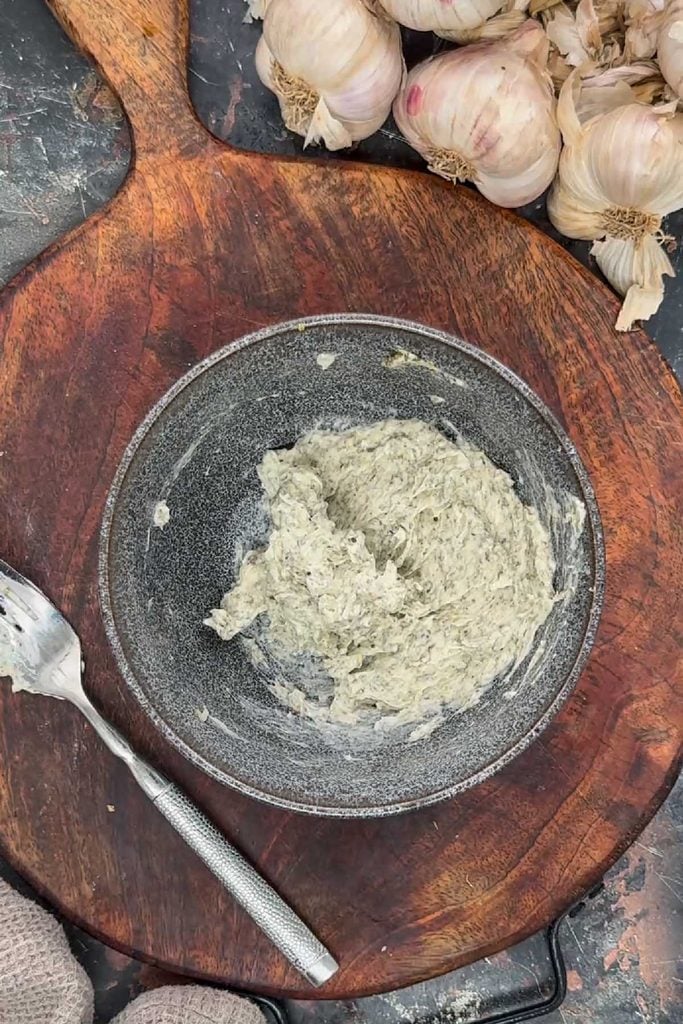
- Make the garlic herb butter. Mash the soft butter with the garlic, herbs and salt, and set aside a generous tablespoon for brushing the baked loaf.
- Divide and roll. Knock back the dough, knead briefly and divide it into 12 equal balls (weigh them for accuracy). Roll each one into a circle slightly smaller than the width of your tin.
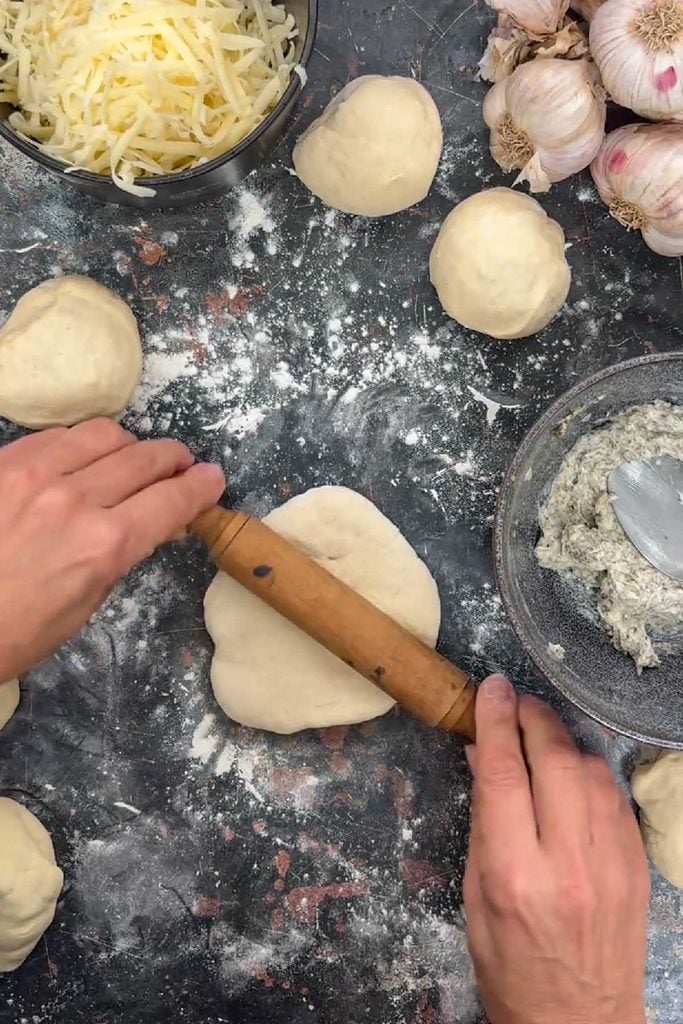
- Fill and fold. Spread each piece with garlic herb butter, sprinkle with about 10–12g of Cheddar and fold in half.
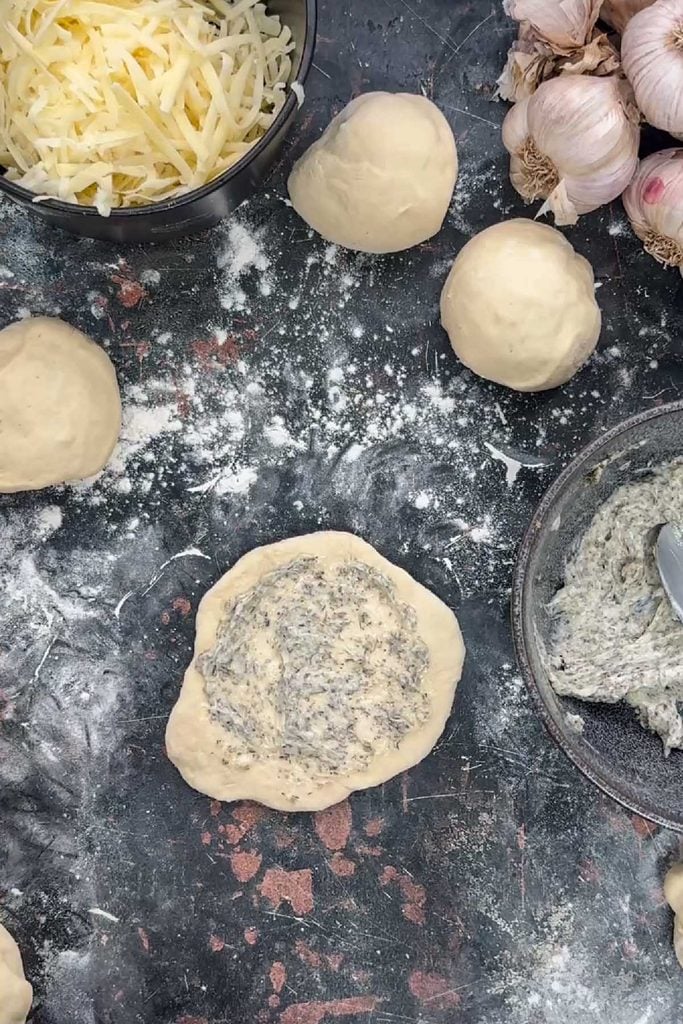
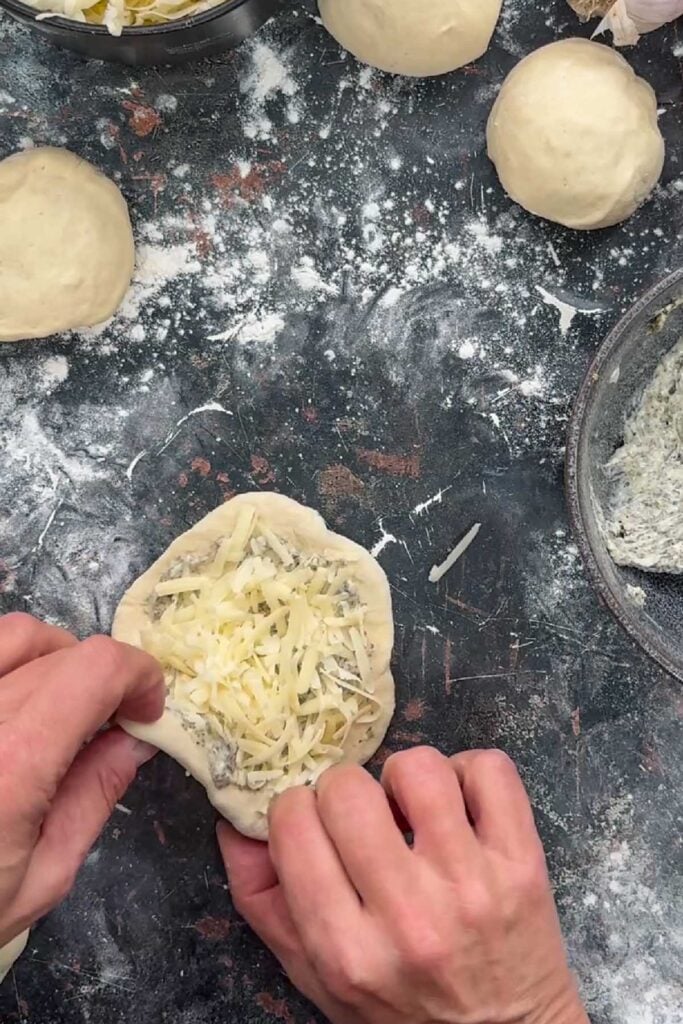
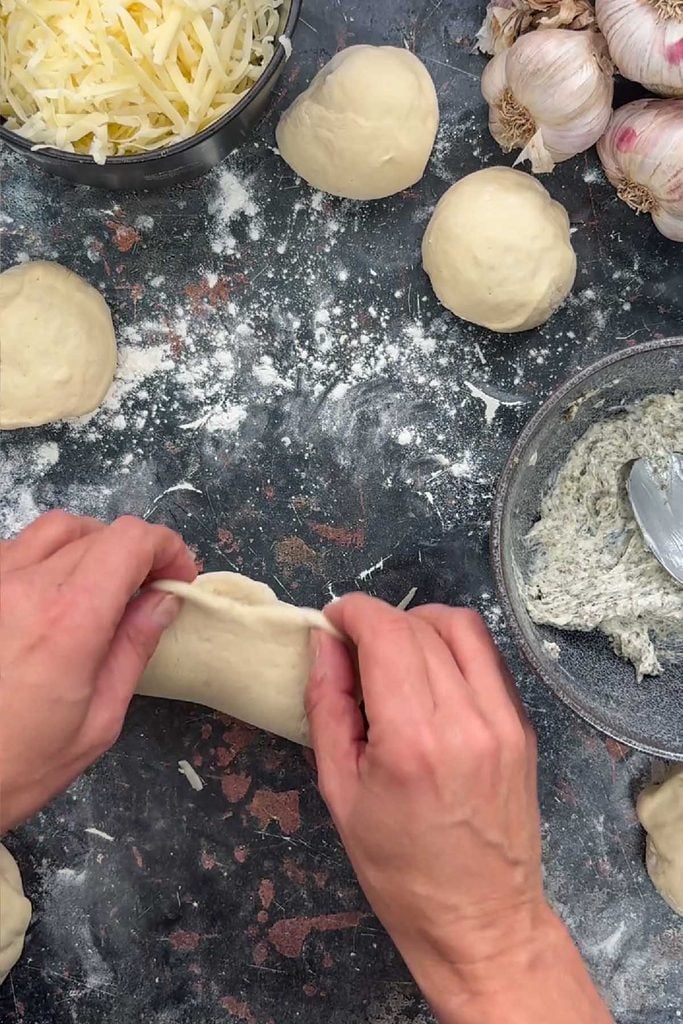
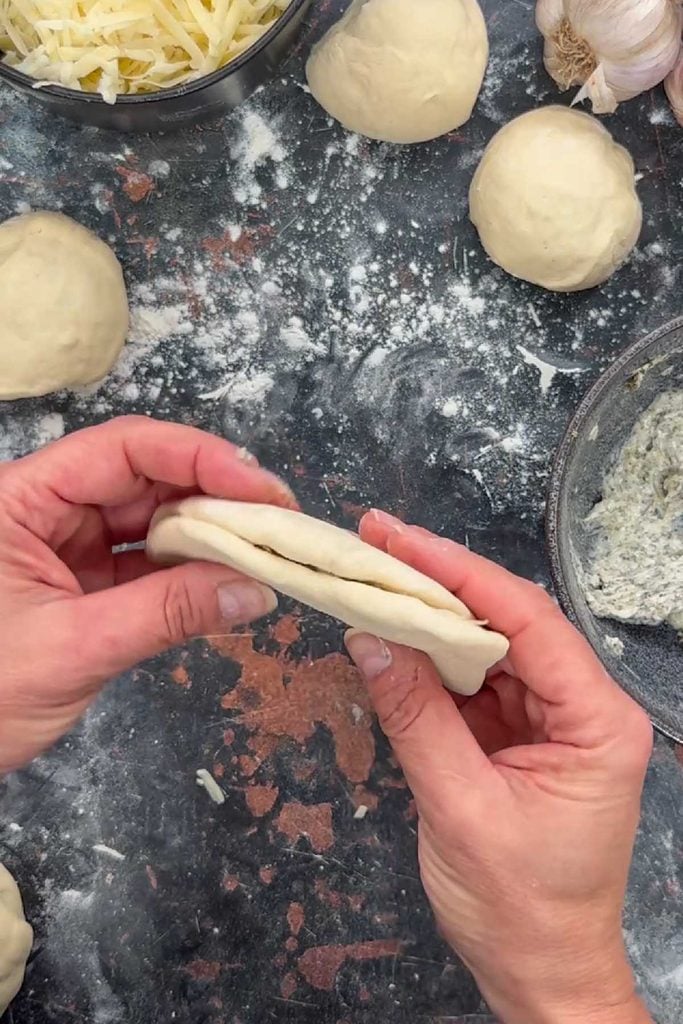
- Stack in the tin. Stand the folded pieces upright in a lined loaf tin, packed snugly side by side like the pages of a book.
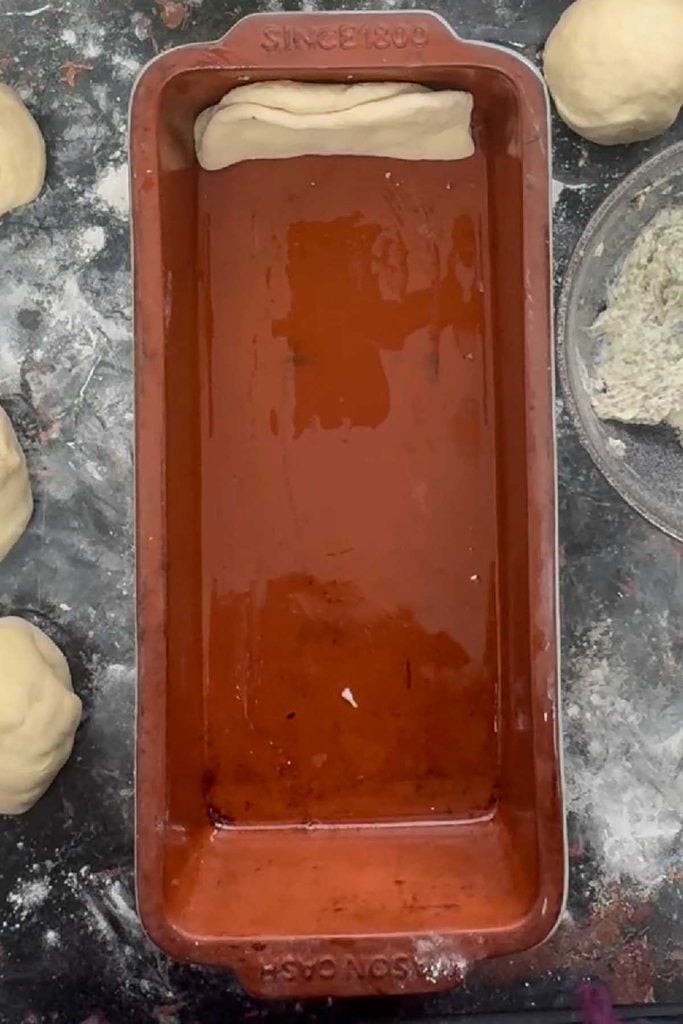
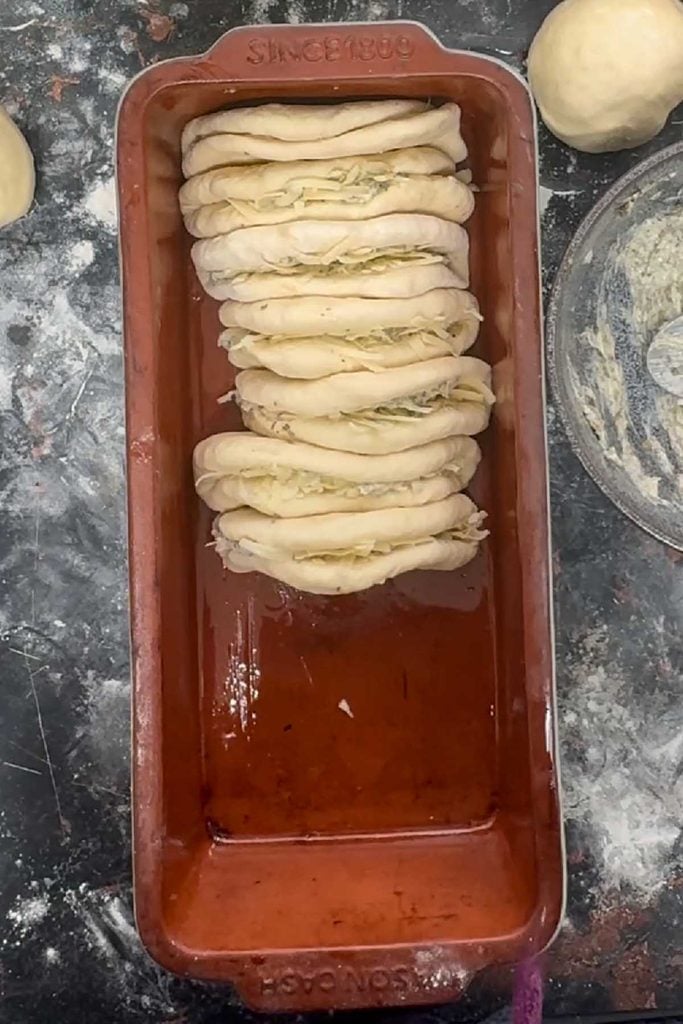
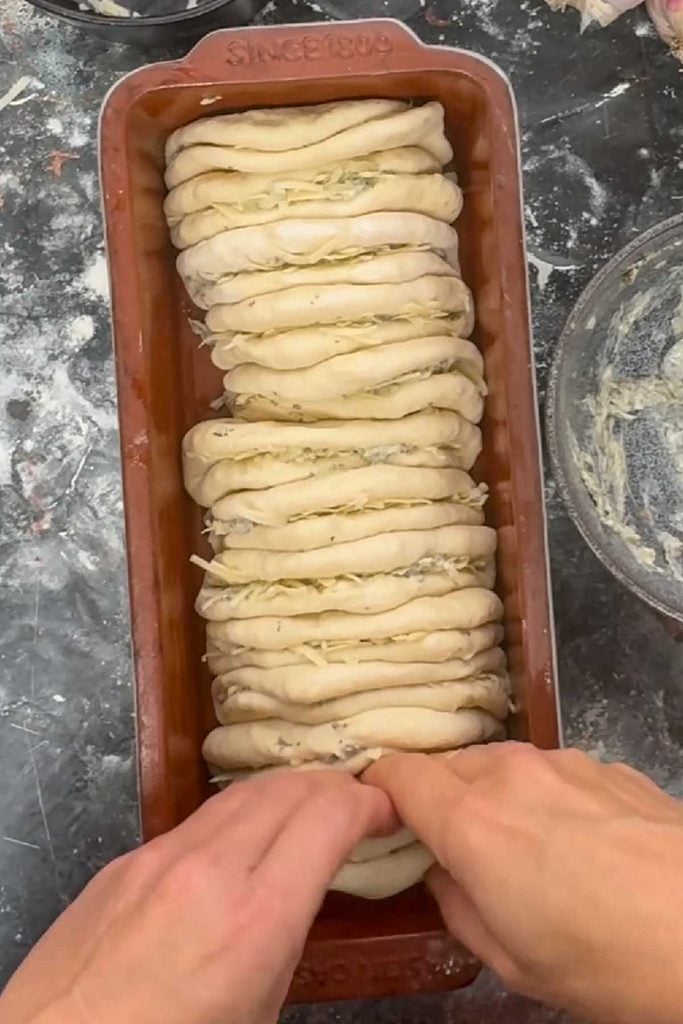
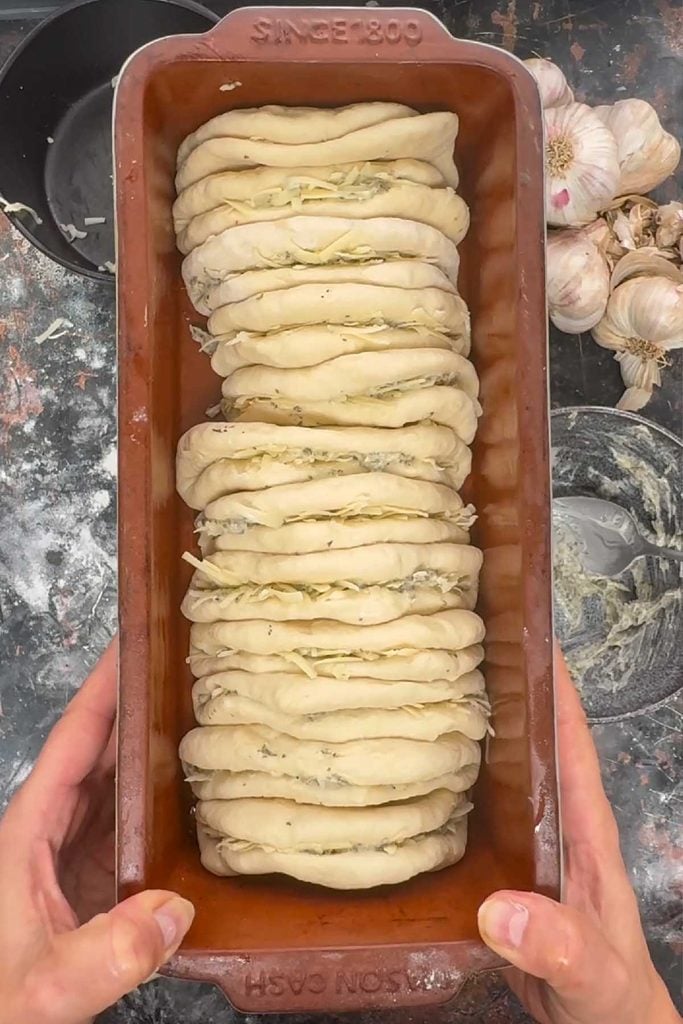
- Second prove. Cover and leave for 30–45 minutes until puffy and just above the rim. Heat the oven while it rises.
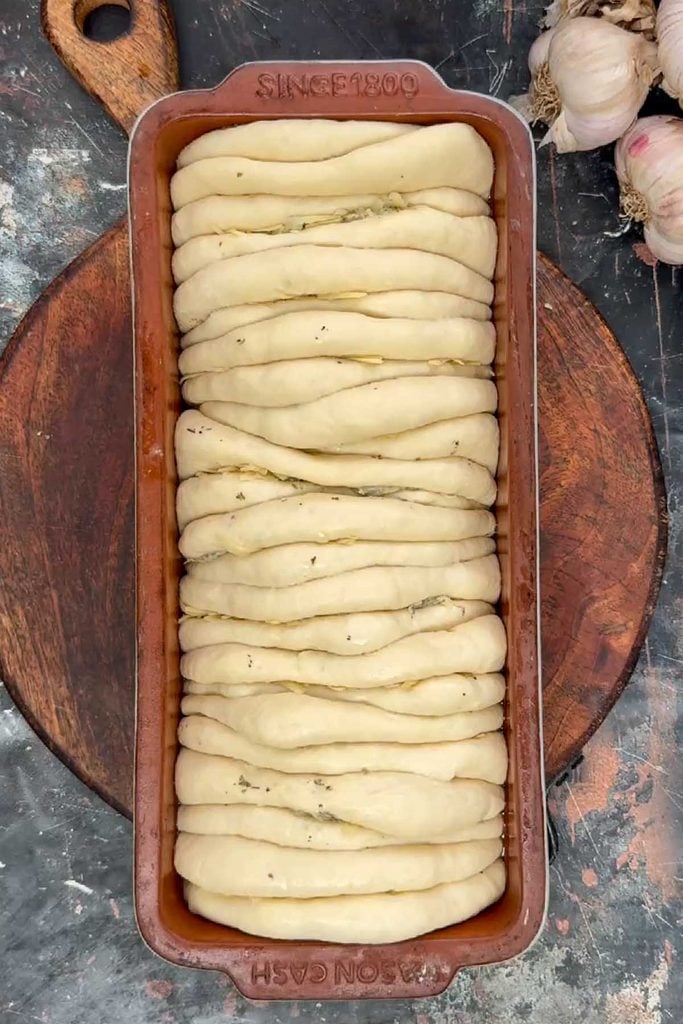
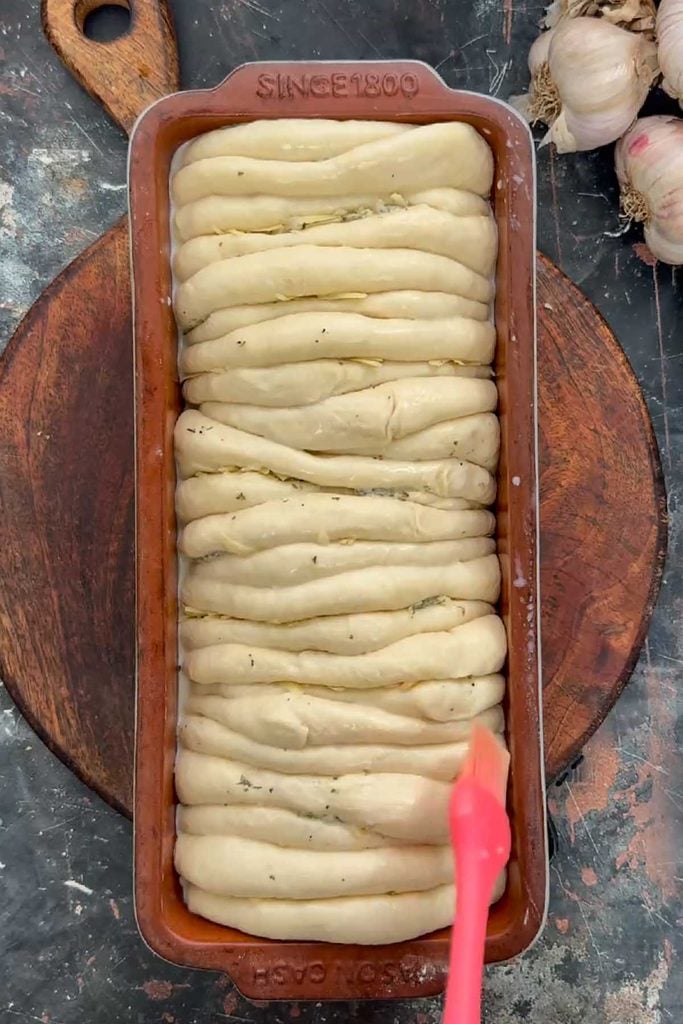
- Bake. Brush the top with milk and bake for about 45 minutes until deep golden and hollow-sounding. Cover loosely with foil if it browns too quickly.
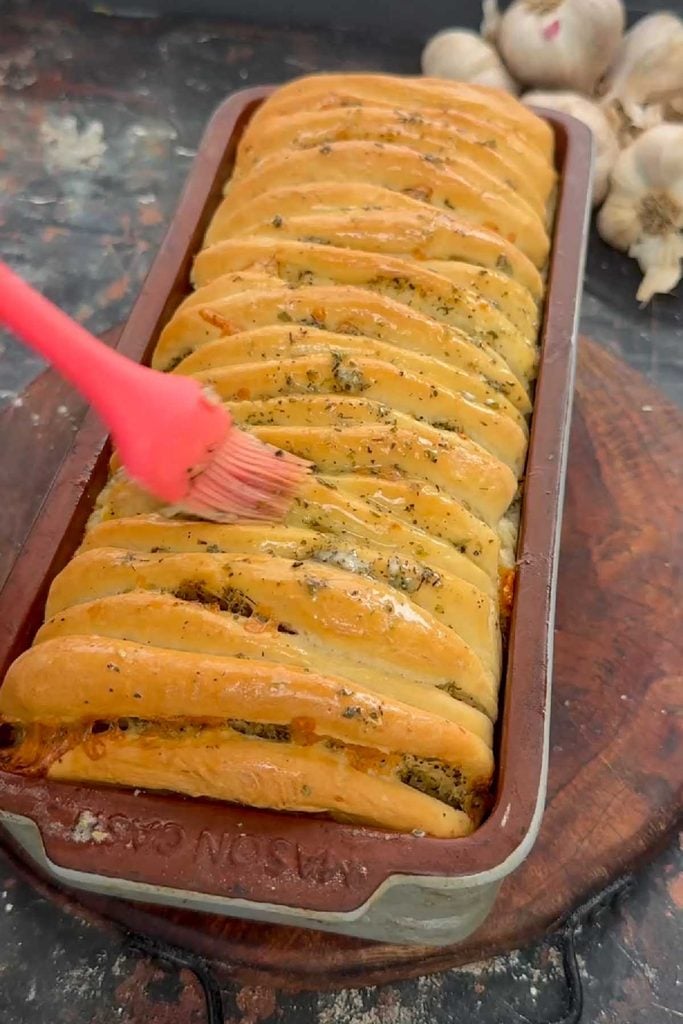
- Finish. As soon as it comes out of the oven, brush the loaf with the reserved garlic herb butter. Leave in the tin for 10 minutes, then lift out and serve warm.
Tips for the perfect tear and share bread
- Use really soft butter. It should spread easily. Leave it out for a few hours or soften very briefly in the microwave in 5-second bursts. If it melts, it will leak out of the dough and burn in the tin.
- Don’t overfill the layers. A modest amount of cheese per fold keeps the layers distinct. Too much and they slide apart and turn greasy.
- Pack the pieces snugly. A tight fit makes the loaf rise upwards rather than sideways, giving those tall, defined layers.
- Check it is cooked through. The layered middle takes longer than a plain loaf. Bake until it is deep golden and sounds hollow when tapped underneath.
- Cover it if needed. If the top darkens after 25–30 minutes, lay a sheet of foil loosely over it and carry on baking.
- Knead well. A well-developed dough holds its layers. James Morton’s kneading tips are worth a read.
Swaps and variations
- Vegan: use plant milk, a vegan butter block (I like Naturli) in the garlic butter (not a soft spread) and a vegan Cheddar-style cheese that melts well.
- Pesto: spread each layer with green or red pesto instead of garlic butter.
- Sun-dried tomato: add finely chopped sun-dried tomatoes with the cheese.
- Fresh herbs: use about three times the quantity of fresh herbs, such as parsley, thyme or chives, instead of dried.
Make ahead, storing and freezing
- Make ahead: assemble the loaf in the tin, cover and refrigerate overnight. The next day, leave it at room temperature for about an hour to finish rising, then bake as normal.
- Store: once cool, wrap in foil and keep at room temperature for up to 2 days. Reheat wrapped in foil at 180°C (160°C fan) for 10–15 minutes before serving.
- Freeze: wrap the cooled loaf (whole or in pieces) well and freeze for up to 3 months. Defrost at room temperature, then warm through in the oven wrapped in foil. See the Food Standards Agency advice on freezing food.
What to serve with cheesy garlic pull apart bread
- A bowl of soup, such as courgette, tomato and basil soup, red lentil, carrot and coconut soup or broccoli and spinach soup. Find more in my warming winter soups collection and soup recipes.
- A big pasta bake or vegetable lasagne.
- As part of a festive spread with a Christmas salad and dips such as hummus without tahini. Browse more vegetarian Christmas recipes.
- On a sharing board with olives, antipasti and marinated vegetables.
Frequently asked questions
Yes. Use about 800g of ready-made pizza or bread dough, let it come to room temperature, then roll, fill and fold as above. Homemade dough gives a softer, richer result.
It usually needs more time in the oven. The layers trap moisture, so the centre cooks more slowly than a plain loaf. Bake until it is deep golden and sounds hollow, covering the top with foil if it browns too fast.
They are the same idea with different names. “Tear and share” is the more common term in the UK, while “pull apart” is widely used in the US. Both describe bread baked in pieces or layers that you tear off by hand.
Yes. Shape the loaf, cover the tin and refrigerate it overnight for the second prove. Let it sit at room temperature for about an hour before baking.
Yes. Freeze the baked, cooled loaf well wrapped for up to 3 months, then warm it through in foil in the oven
An extra-mature Cheddar gives the best flavour and melts well without being too oily. Mozzarella adds stretch but little flavour, so mix it with Cheddar if you like a cheese pull.
I hope you enjoy this cheesy garlic pull apart bread as much as I do. If you do make it, don’t forget to tag me on Instagram!
Cheesy Garlic Pull Apart Bread
Equipment

Disclaimer: the equipment list above includes affiliate links to products I use and like.
Watch How To Make This Recipe
Ingredients
Dough
- 500 g strong white bread flour
- 7 g fast-action yeast 1 sachet
- 1 tsp sugar
- 1 tsp salt
- 160 g milk
- 160 g water
- 25 g dairy-free spread or butter
Garlic herb butter
- 75 g unsalted butter extra soft (see notes)
- 3 garlic cloves finely grated or crushed
- 4 tsp dried Italian herbs
- ¼ tsp salt
Filling and topping
- 100-120 g extra-mature Cheddar (or parmesan-style cheese, or vegan cheddar) grated
- 1-2 tbsp milk of choice for brushing
Instructions
- Add the flour, yeast, sugar, and salt to a large mixing bowl or the bowl of a stand mixer. Keep the yeast and salt on opposite sides of the bowl before mixing (salt can inhibit the yeast if they come into direct contact). Stir the dry ingredients together.500 g strong white bread flour, 7 g fast-action yeast, 1 tsp sugar, 1 tsp salt
- Gently warm the milk, water and butter spread until the spread has melted and the liquid is tepid.160 g milk, 160 g water, 25 g dairy-free spread
- Stand mixer: Fit the dough hook and set to medium-low speed. Add the milk mixture and mix for 8 to 10 minutes. By hand: Make a well in the centre of the dry ingredients, then add the milk mixture. Mix with a wooden spoon and then knead with your hands for 12 minutes until a soft dough ball forms.
- Cover the bowl and leave the dough to rise in a warm place until it has doubled in size (about 1 to 1½ hours). If you are using the Kenwood Cooking Chef XL, use the splashguard to cover the bowl and warm the bowl to 30°C with the Cooking Chef induction plate.
- Meanwhile, make the garlic herb butter: mash the soft butter with the garlic, dried herbs and salt until evenly mixed. Grease and line a 900g (2lb) loaf tin with baking parchment.75 g unsalted butter, 3 garlic cloves, 4 tsp dried Italian herbs, ¼ tsp salt
- When the dough has doubled in size, deflate it with your fist. Gather the dough into a ball and tip it onto a lightly floured surface. Knead the dough for a minute or so, then divide in 12 equal balls (to make sure they are of equal size, I weigh each ball on a scale)
- Flatten and roll out each ball into an circle (you can use your hands or a rolling pin). Each circle should be slightly smaller than the width of your tin, so that once folded in half it has room to expand when the loaf proves.
- Reserving a generous tablespoon of garlic herb butter for later, spread each piece with garlic herb butter and sprinkle with 10–12g of cheese. Fold each piece in half, pressing gently so that the dough sticks together.100-120 g extra-mature Cheddar (or parmesan-style cheese, or vegan cheddar)
- Stand the folded pieces upright in the tin, folded edge up, packing them snugly side by side.
- Cover and leave to prove in a warm place for 30–45 minutes, until puffy and just above the rim of the tin. Meanwhile, preheat the oven to 180°C (160°C fan).
- Brush the top of the loaf with a little bit of milk. Bake for about 45 minutes until deep golden and hollow-sounding. Cover loosely with foil if it browns too quickly.1-2 tbsp milk of choice
- As soon as it comes out of the oven, brush with the reserved garlic herb butter. Leave in the tin for 10 minutes, then lift out and serve warm.
Notes
Nutritional Information
Find this recipe online:
Cheesy Garlic Pull Apart Bread
https://theflexitarian.co.uk/recipe-items/cheesy-garlic-pull-apart-bread/
I cannot wait to see your posts!
Other things you might like
- Cream of Mushroom Soup
- Roasted Tomato Soup
- Lazy Lasagna
- Whipped Feta Cheese Dip
- Cannellini Dip (Two Ways)



Leave a Reply